Off the frame: London Chimes

You’ve asked for it and waited for it. Now, here it is: London Chimes, my version of the Wind Chimes quilt pattern from Nancy Zieman’s Quick Column Quilts book!

IMG_5396.JPG

IMG_5392.JPG

IMG_5388.JPG

IMG_5390.JPG

I am quite pleased with the end product. It is a great showcase for my precious London prints, used in a pattern that captures the energy of the city without forcing me to cut the pieces small enough to lose the overall charm of the feature prints.

What a great project!

Posted in Uncategorized | 6 Comments

Announcing: winners of the Nancy Zieman Quick Column Quilts book giveaway!

Wow! We sure had a lot of entries for our book giveaway! Thanks for all the fantastic stash busting ideas.

So… Here are our randomly generated winners:

IMG_5386.PNG

IMG_5387.PNG

That means that the following people are our winners:
Karan Allan and
“Maye”

Congratulations, Ladies!
Be sure to contact me with your information so that we can send your book out to you!

Happy quilting!

Posted in Uncategorized | 1 Comment

FREE Nancy Zieman book giveaway and review!

column-quilts-coverI have several Big Deals to talk about today! (Hint: One of them involves a book giveaway!)

Nancy Zieman has been a big deal to me ever since was a teenager. Her television show, Sewing with Nancy, is currently celebrating its 30th year on public television. That’s a whole lot of teaching, writing, and sewing. With Nancy’s help, I have learned about fitting, easing, gathering, binding, sewing, and, most of all, teaching.

Quick_Column_Quilts_Blog_Tour_Badge
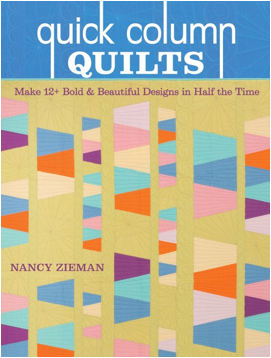
I am very excited to have the opportunity to participate in a blog tour about Nancy Zieman’s new book and television series, Quick Column Quilts: Make 12+ Bold & Beautiful Designs in Half the Time. Not only did I have the opportunity to write about one of my most favorite and influential teachers and businesswomen, but I also got to choose a quilt to make from her book!

It turns out that choosing a quilt pattern from the book was one of the most difficult parts of the project. Quick Column Quilts is full of beautiful patterns that could be made in both modern and traditional styles. I was particularly drawn, however, to the pattern called “Wind Chimes,” both because of its graphic, asymmetrical style, but also because of the fact that Nancy wrote that it is ideal to use as a stashbuster. Considering my current preoccupation with stash reduction, it seemed a perfect fit for me.

057

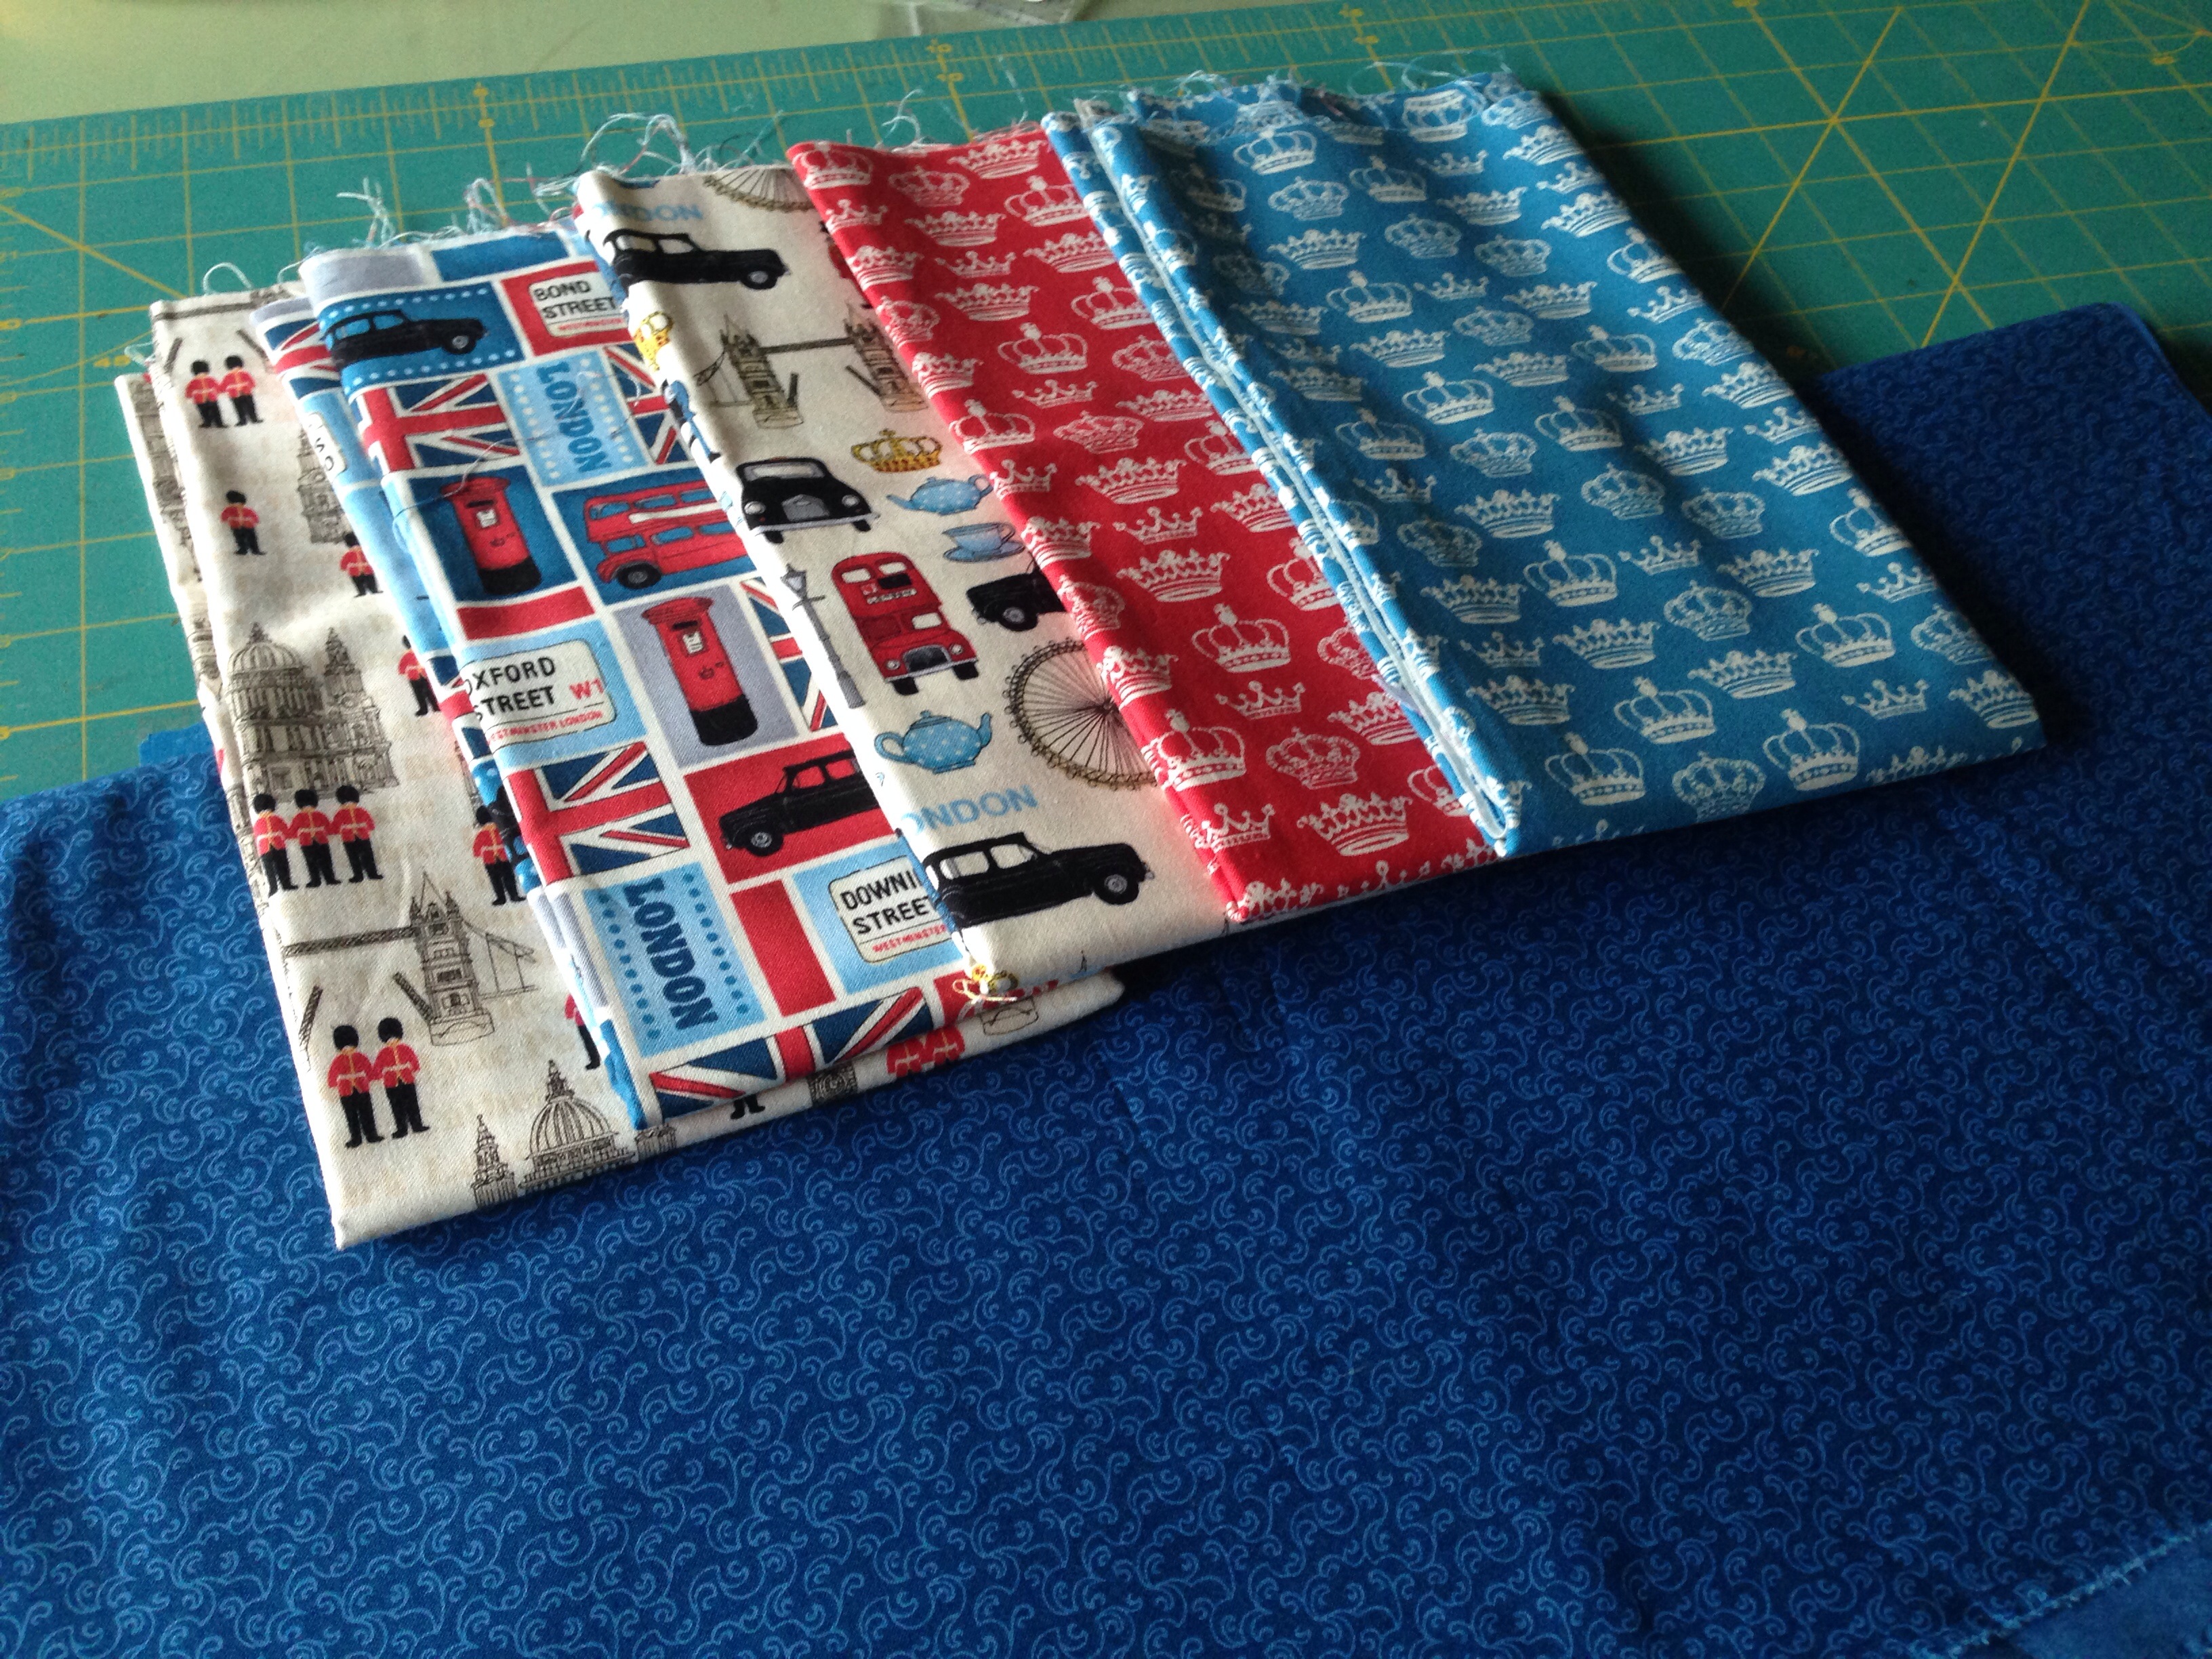
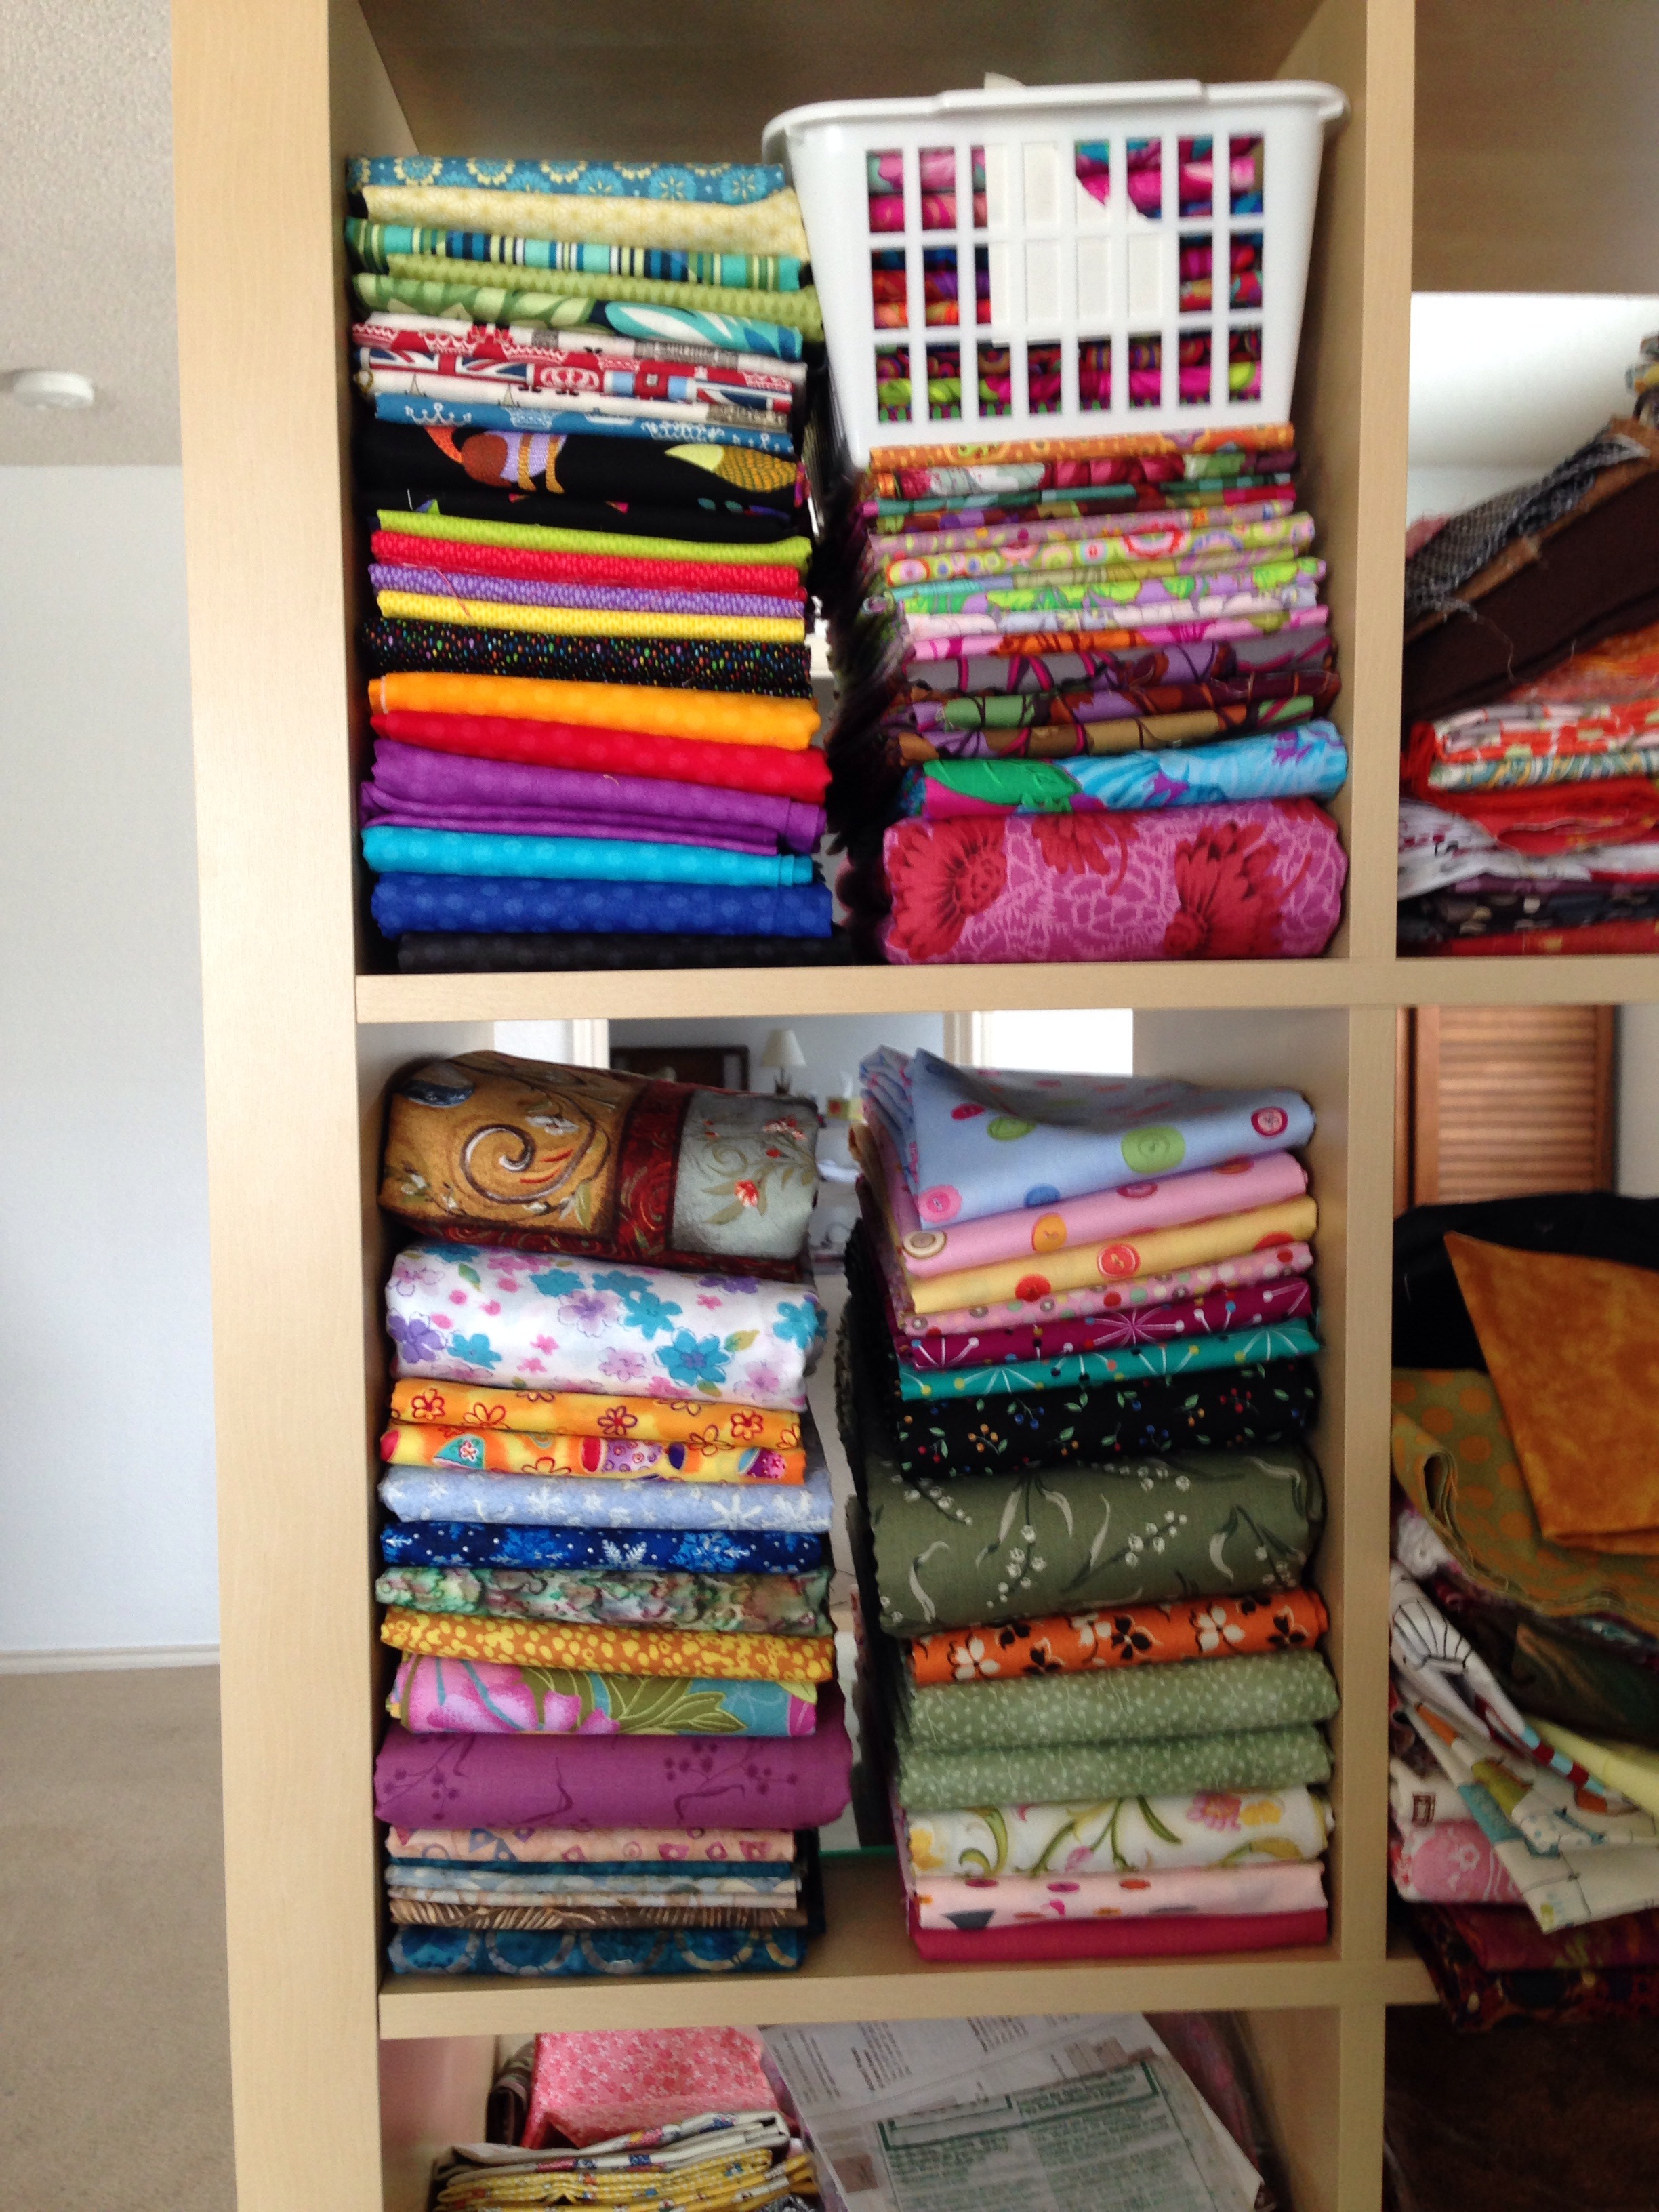
My stash selection: Aged to perfection

First, I had to choose my fabrics. I had a lovely collection of British-themed fabrics that I purchased while visiting my stepdaughter in London a few years ago while she was studying at the London School of Economics. Most Americans have little idea how lucky we are to obtain affordably priced fabrics in this country. We may consider $12 a yard to be top dollar for quilting cotton, but that is a bargain in the quilt shops of London, where I could only justify purchasing a yard or less of each feature fabric in my quilt.

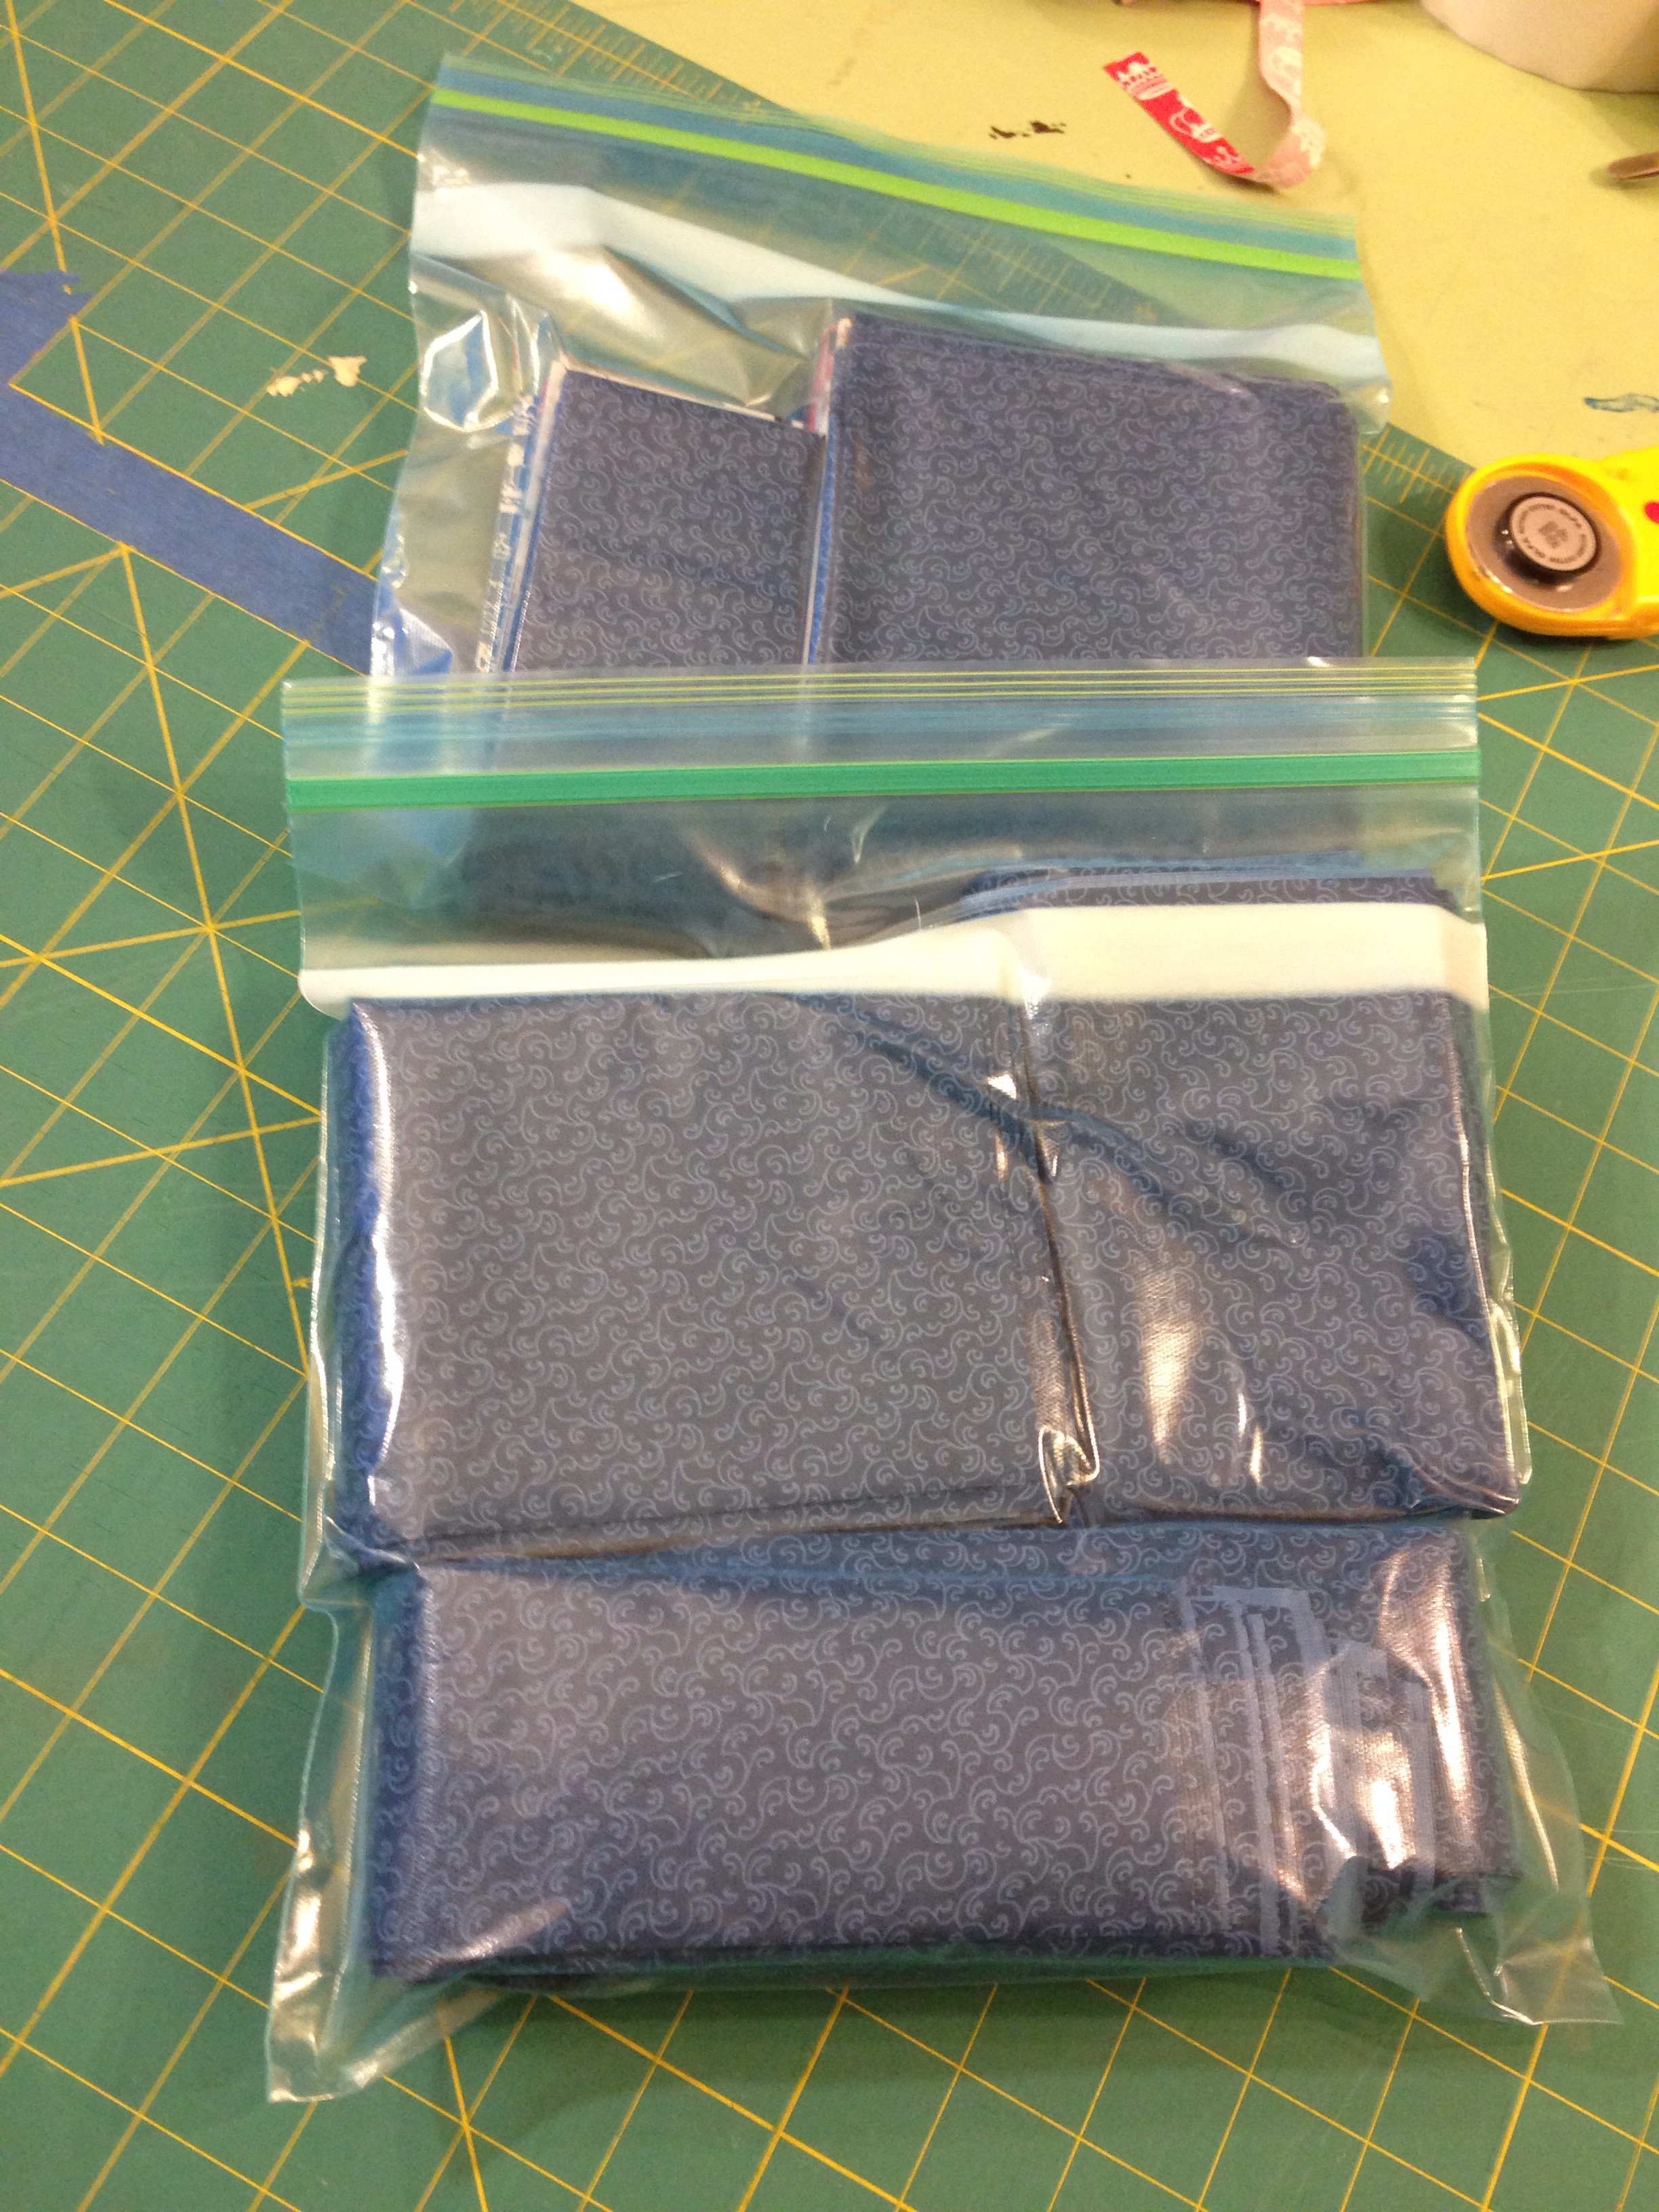
My fabric, being precious, had plenty of time to age to perfection in my stash before telling me it belonged in this spirited quilt. I bought five yards of coordinating fabric from Berry Patch Fabrics in Fort Worth, Texas, and then proceeded to cut the quilt strips to Nancy’s specifications…the day before I left for AQS Quilt Week in Grand Rapids, Michigan.

059

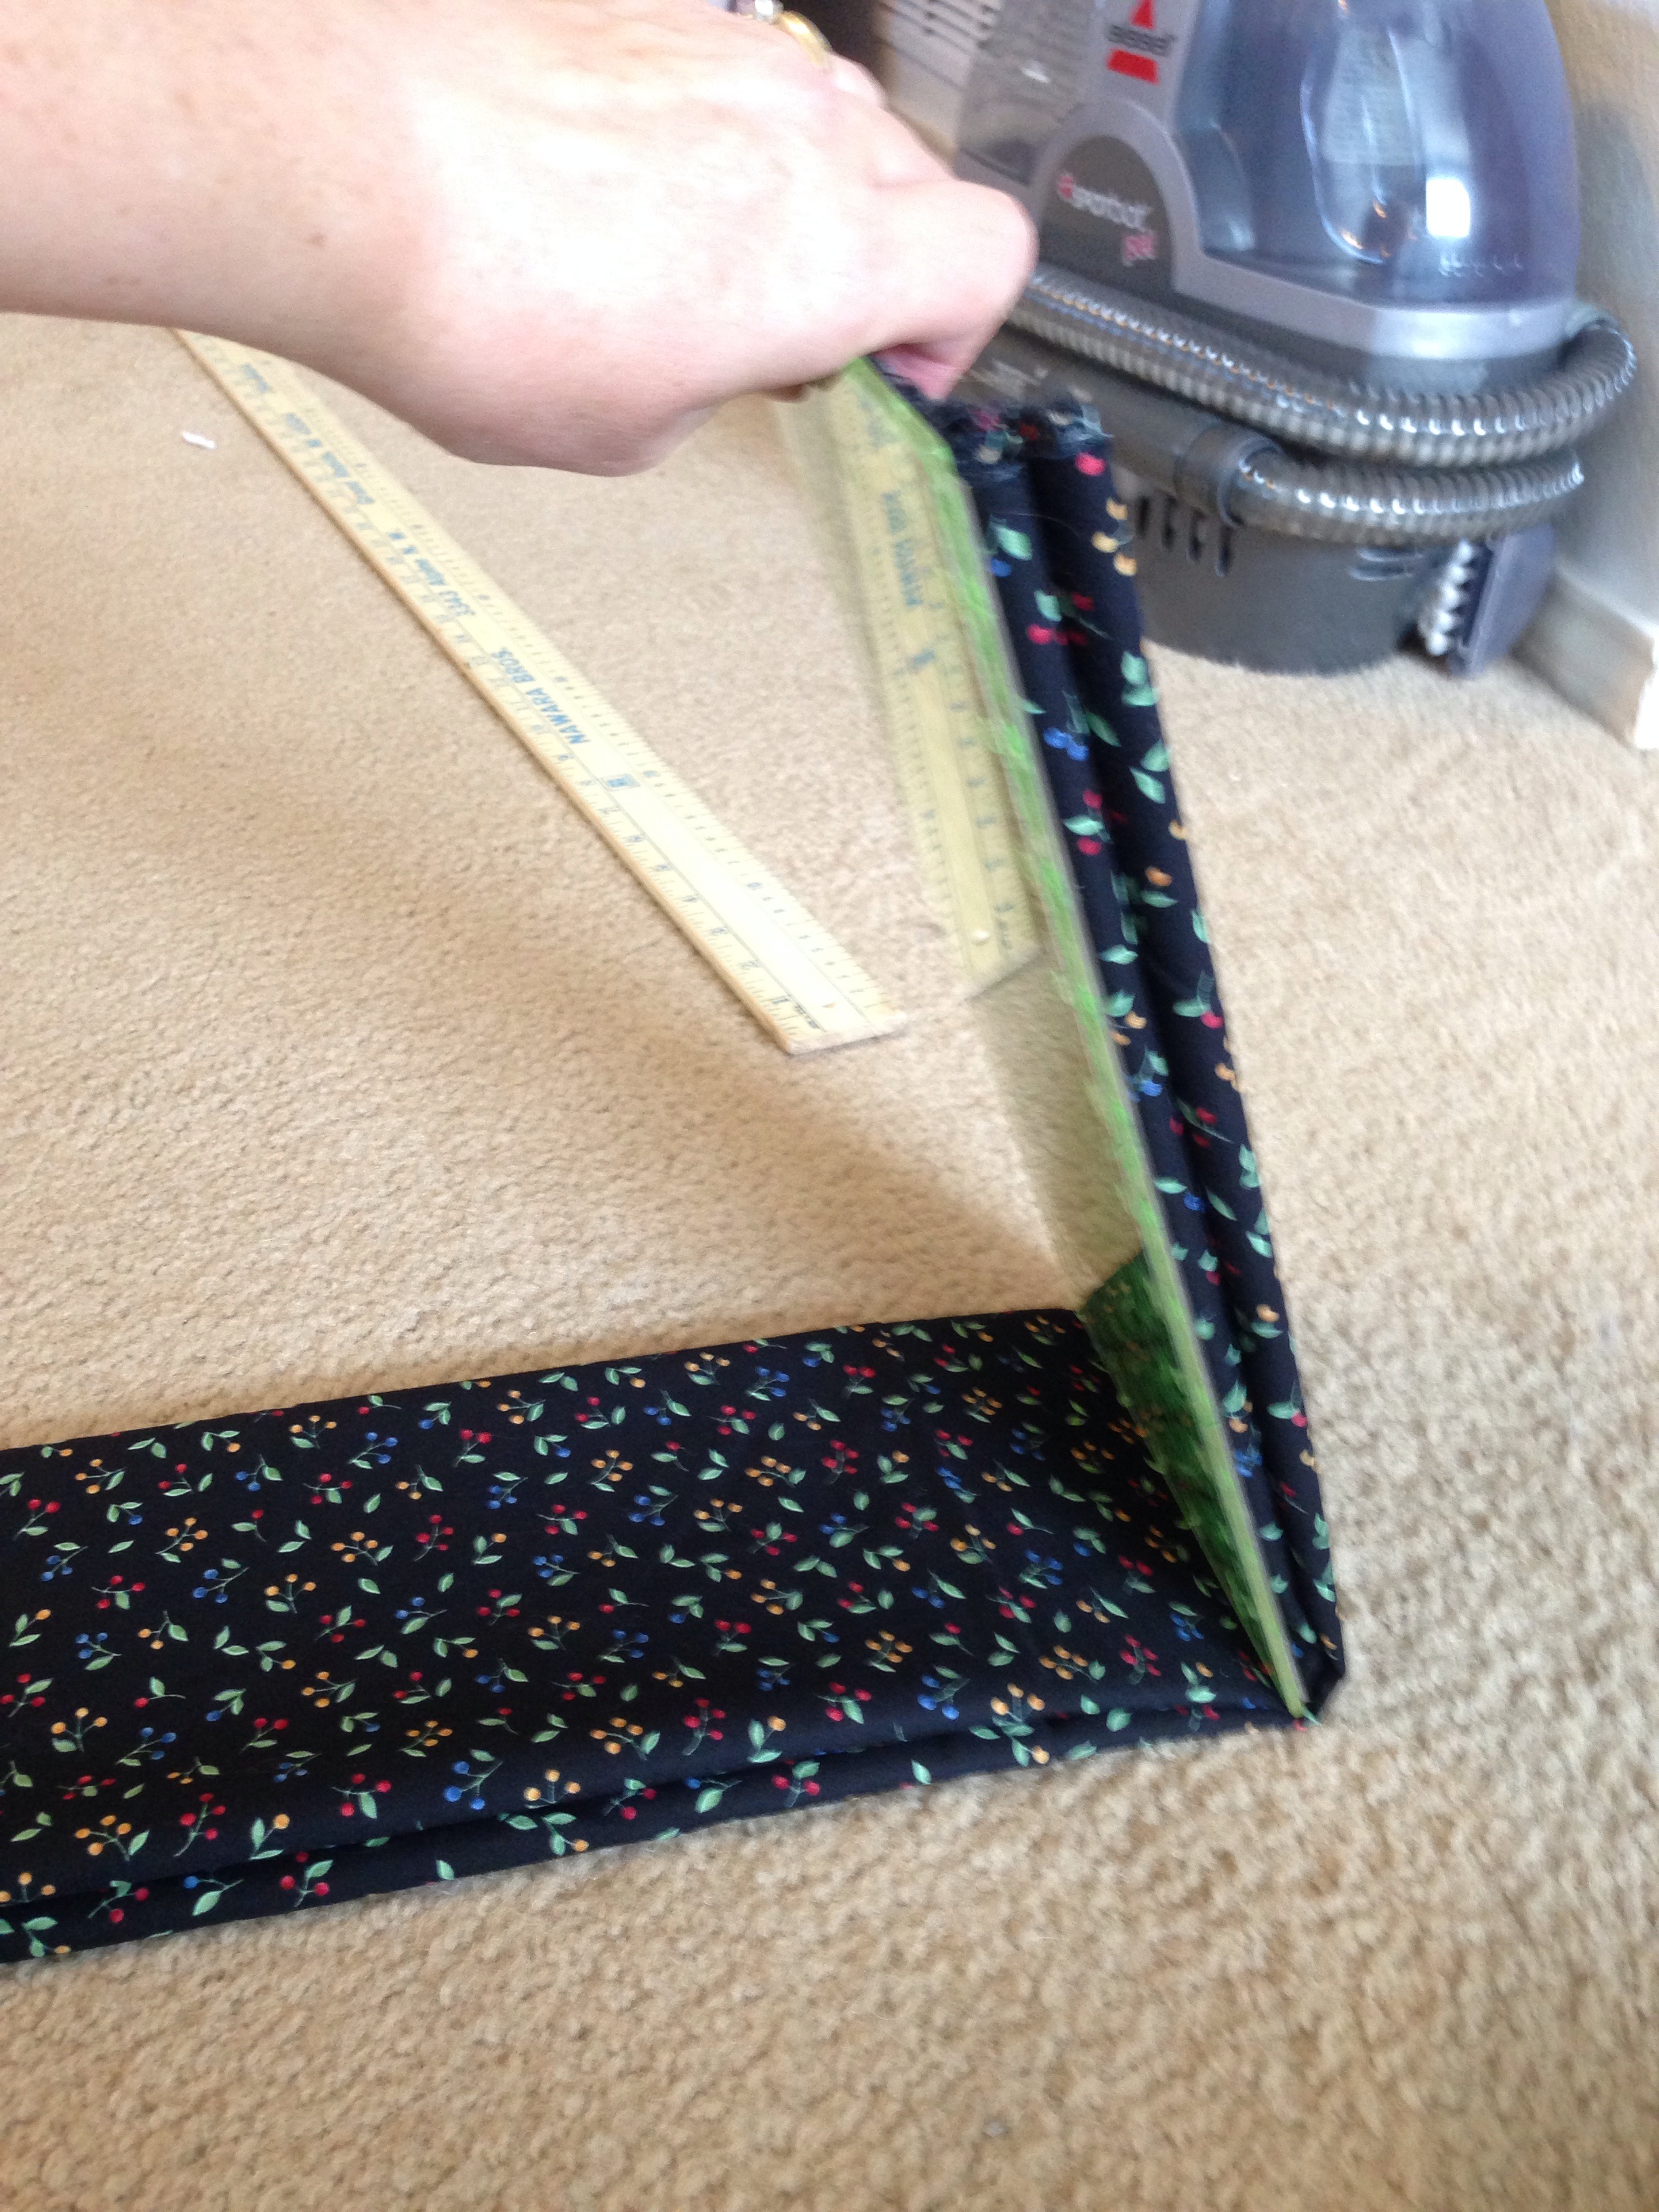
Strips cut up, packaged for TSA, and ready to fly to Michigan!

Wait, what? I was leaving town for two weeks, right when I was supposed to be making a quilt top? Oh, yes. Yes, I was. I had an ace in the hole, however. That was… my mother.

My mom, who lives very near Grand Rapids, Michigan, is one of the most good-natured souls you could ever meet. She is also a quilter. We plan our visits around major quilt shows. I go to Grand Rapids for AQS Quilt Week, then she comes to Texas for International Quilt Festival. There is nothing like quality mother/daughter time spent trying to find a chair in a convention hall. When I asked her to help me make a quilt top with me, she heartily agreed. I cut, read instructions, and laid the quilt out on her bedroom floor while she sewed what I marked and pinned. We were like a well-oiled machine. Well, she was like a well-oiled machine. I was like a rickety machine that needed its knees repaired.

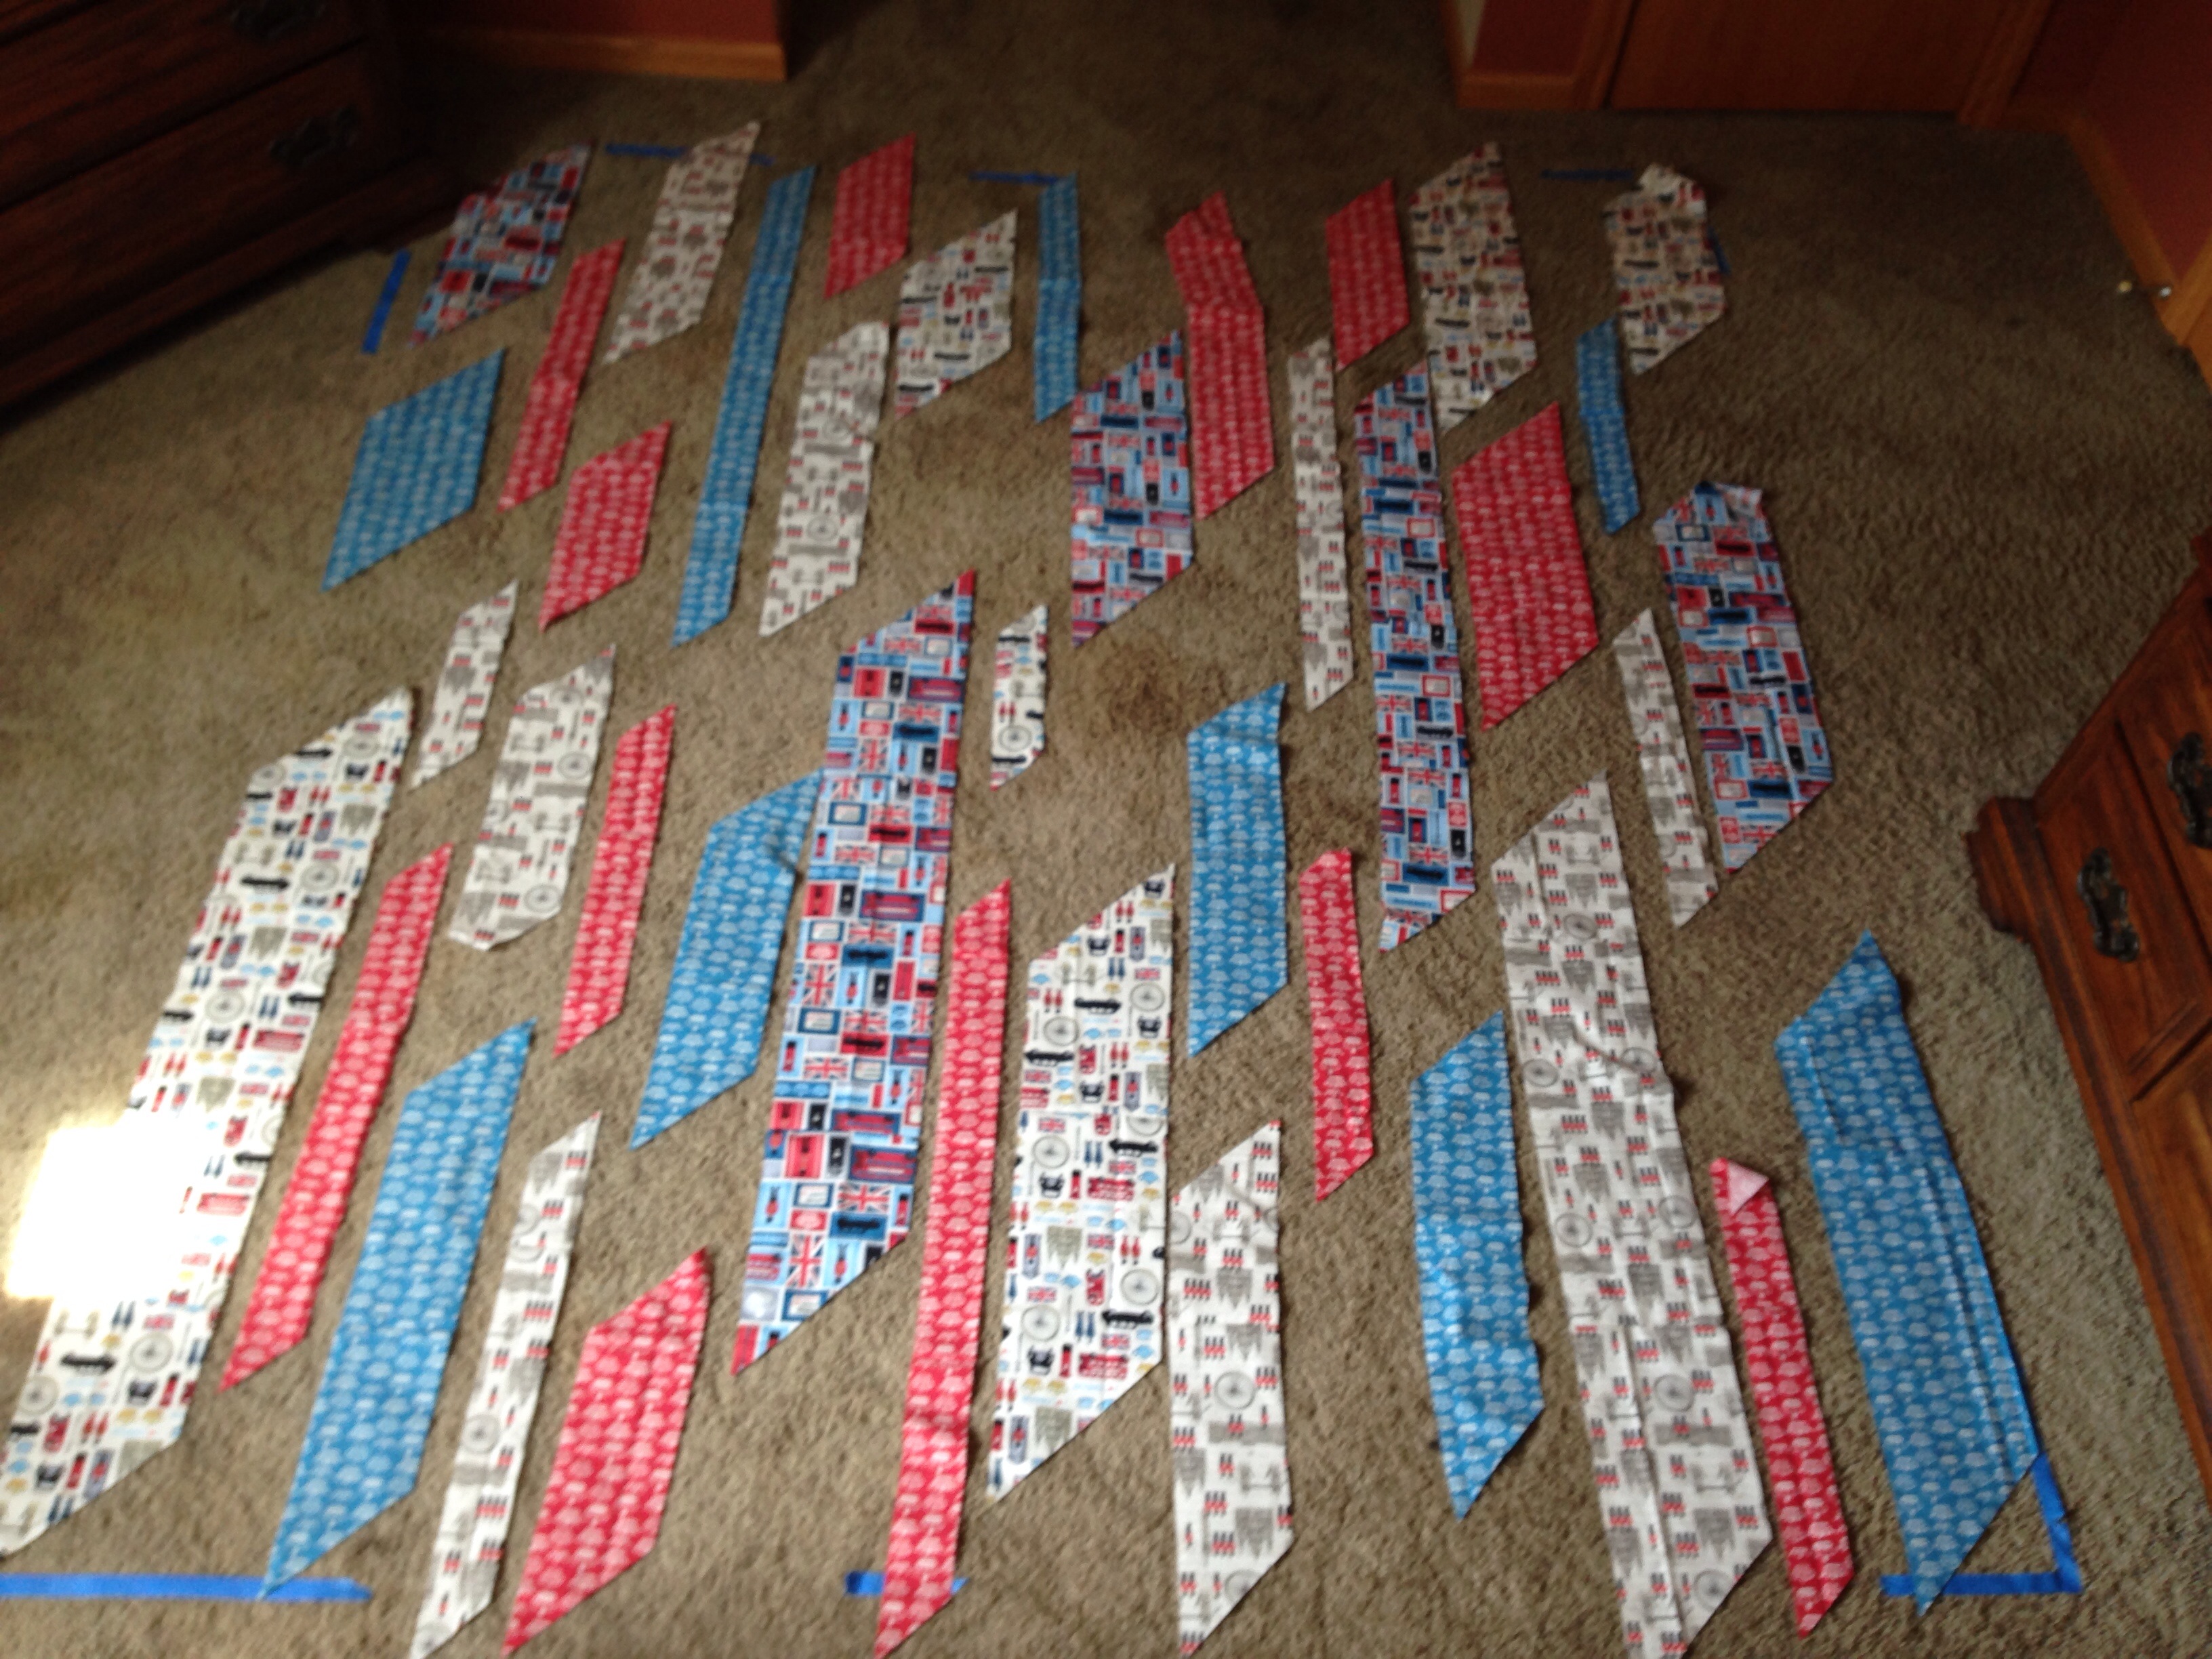
“Wind Chimes” is a quilt that does not have precise instructions for cutting every single piece. This is one of the pattern’s appealing features, since I have never met a quilt pattern I haven’t changed. Nancy’s detailed cutting and assembly instructions explain the process of cutting the quilt in a manner that reduces fabric waste to a very small amount. She also recommends the use of a design wall – something my mother does not own – in order to finalize quilt layout.

069

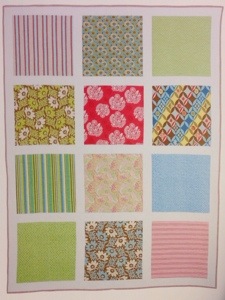
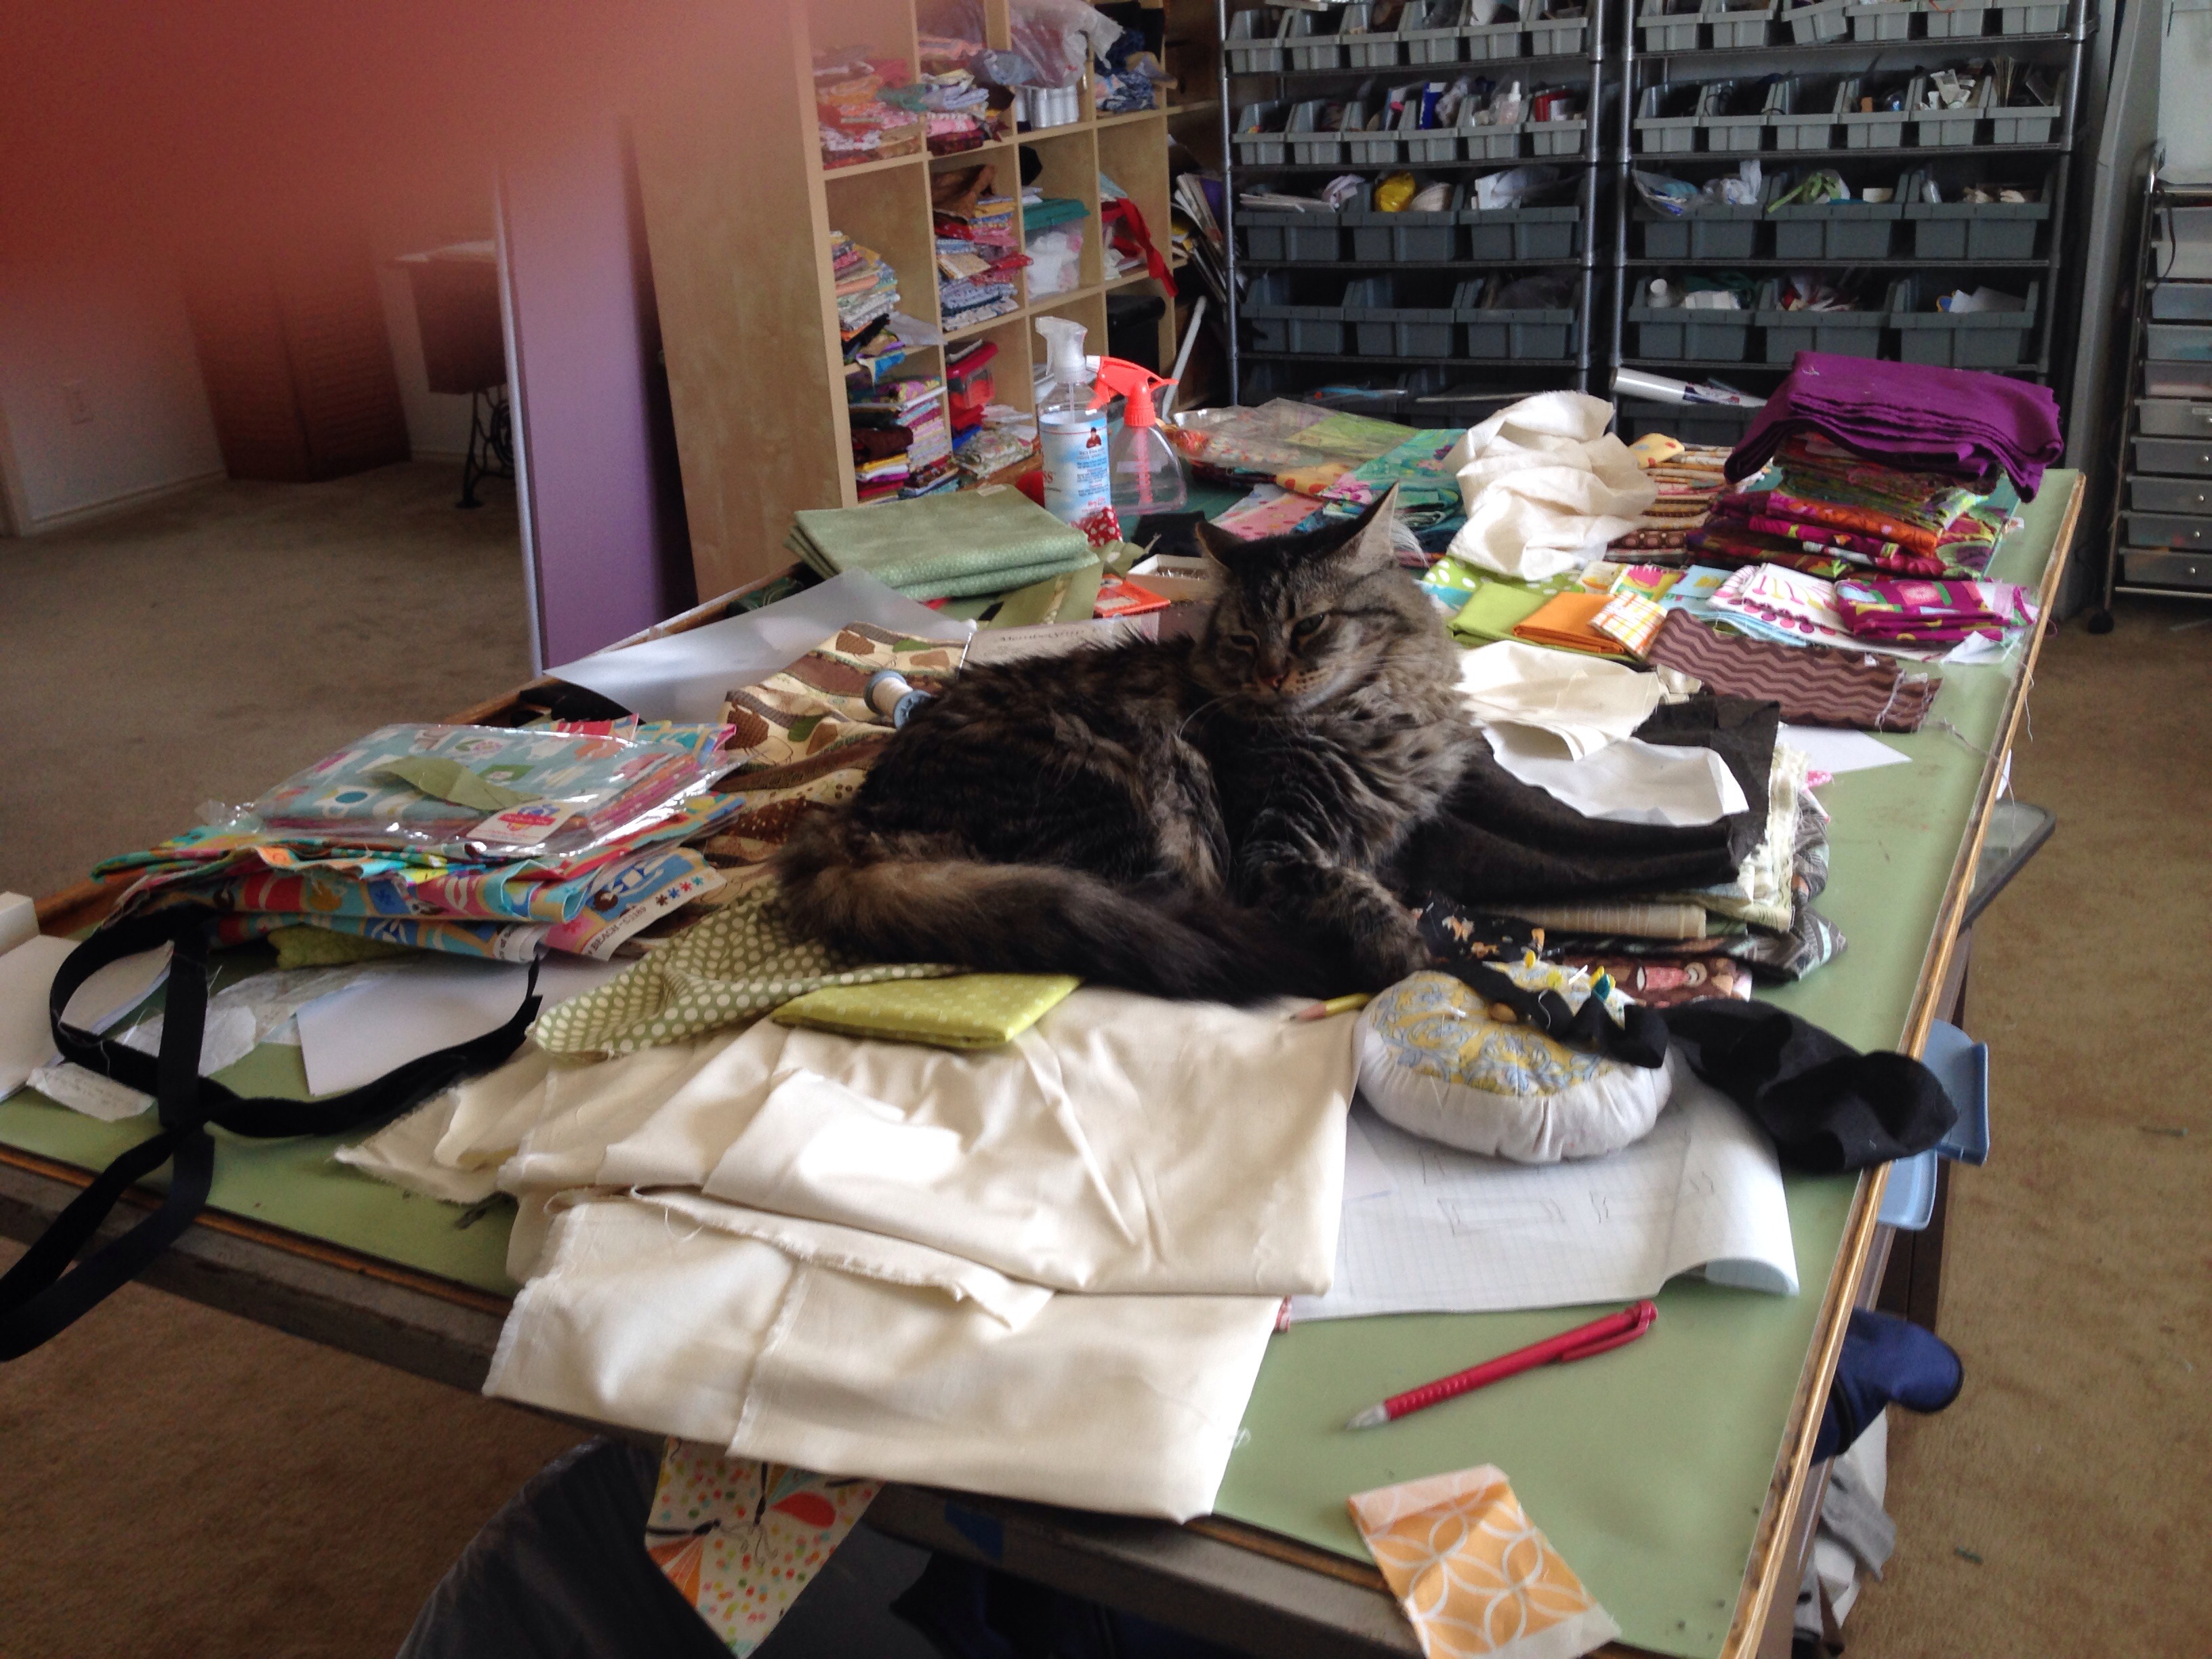
My layout, ready to be filled in with background pieces

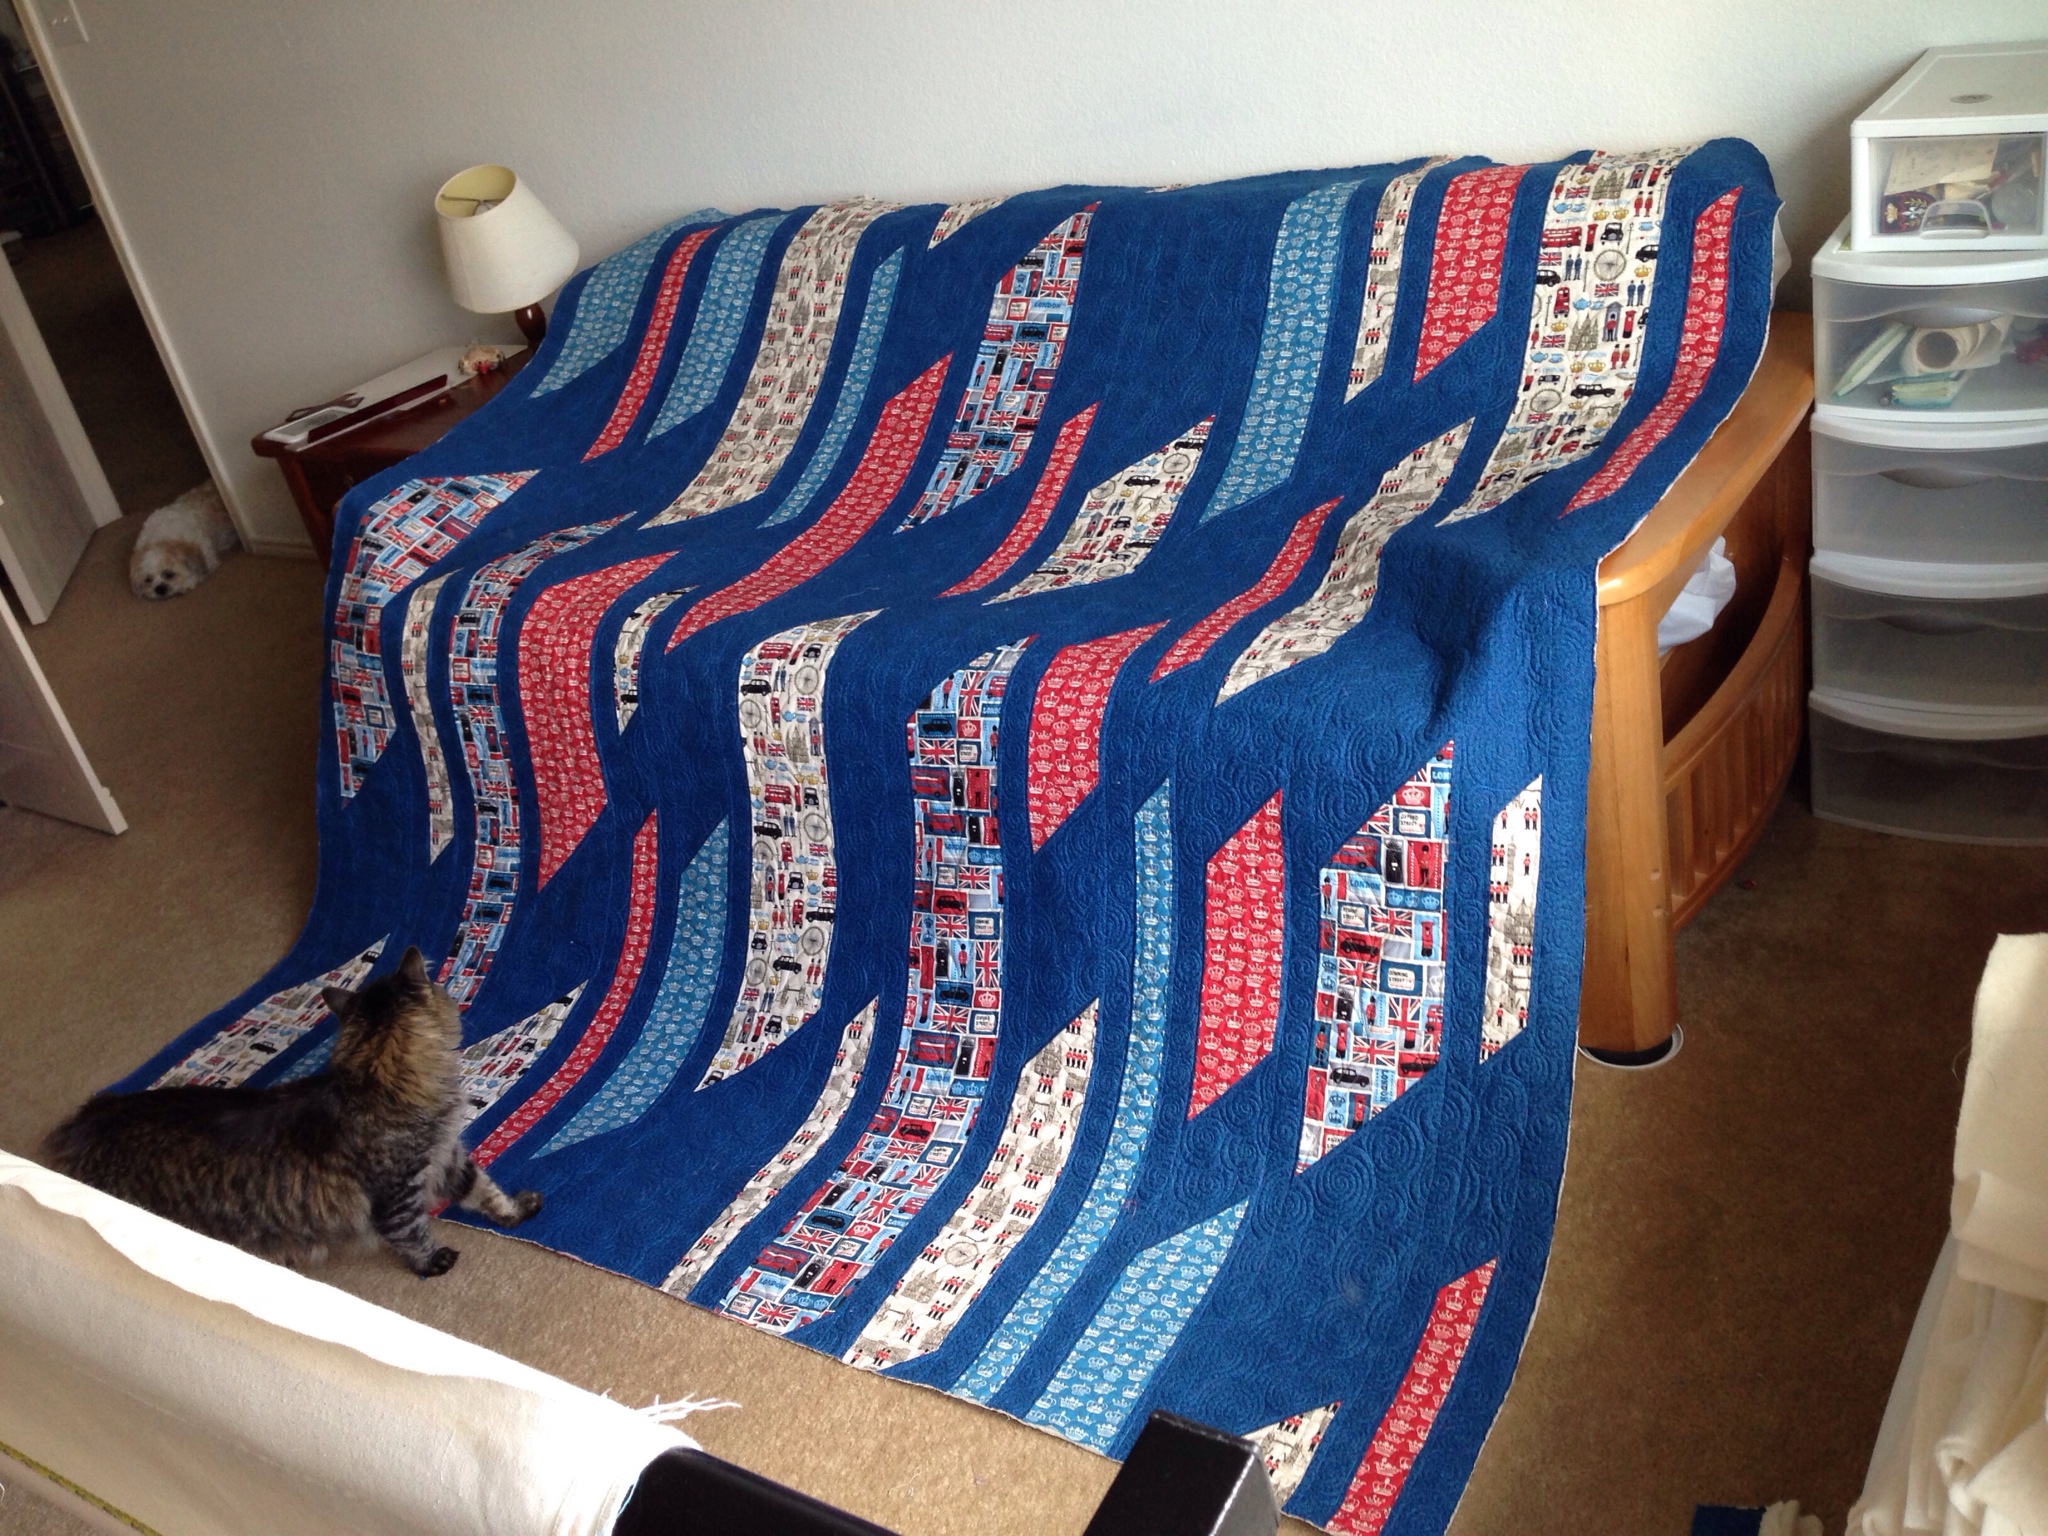
The floor works very well, as long as there are no four-footed helpers involved. The intrusion by our furry critics was kept to a minimum, but even my own movements over the quilt made it challenging. I really did miss my studio design wall for this very large (80″x88″) quilt.

075

The finished top, untrimmed on the bottom

We finished this quilt top in less than two days! We had a great time chatting while marking, sewing, arranging, and trimming our columns. There were no points to match, and even some iffy cutting on my part (due to rushing through the process the night before my flight) was tolerated in this fun, funky quilt.
My mom joked that she was going to bring a quilt for us to make together when she came to visit me in Texas to make up for all her hard work. I am looking forward to it!

003

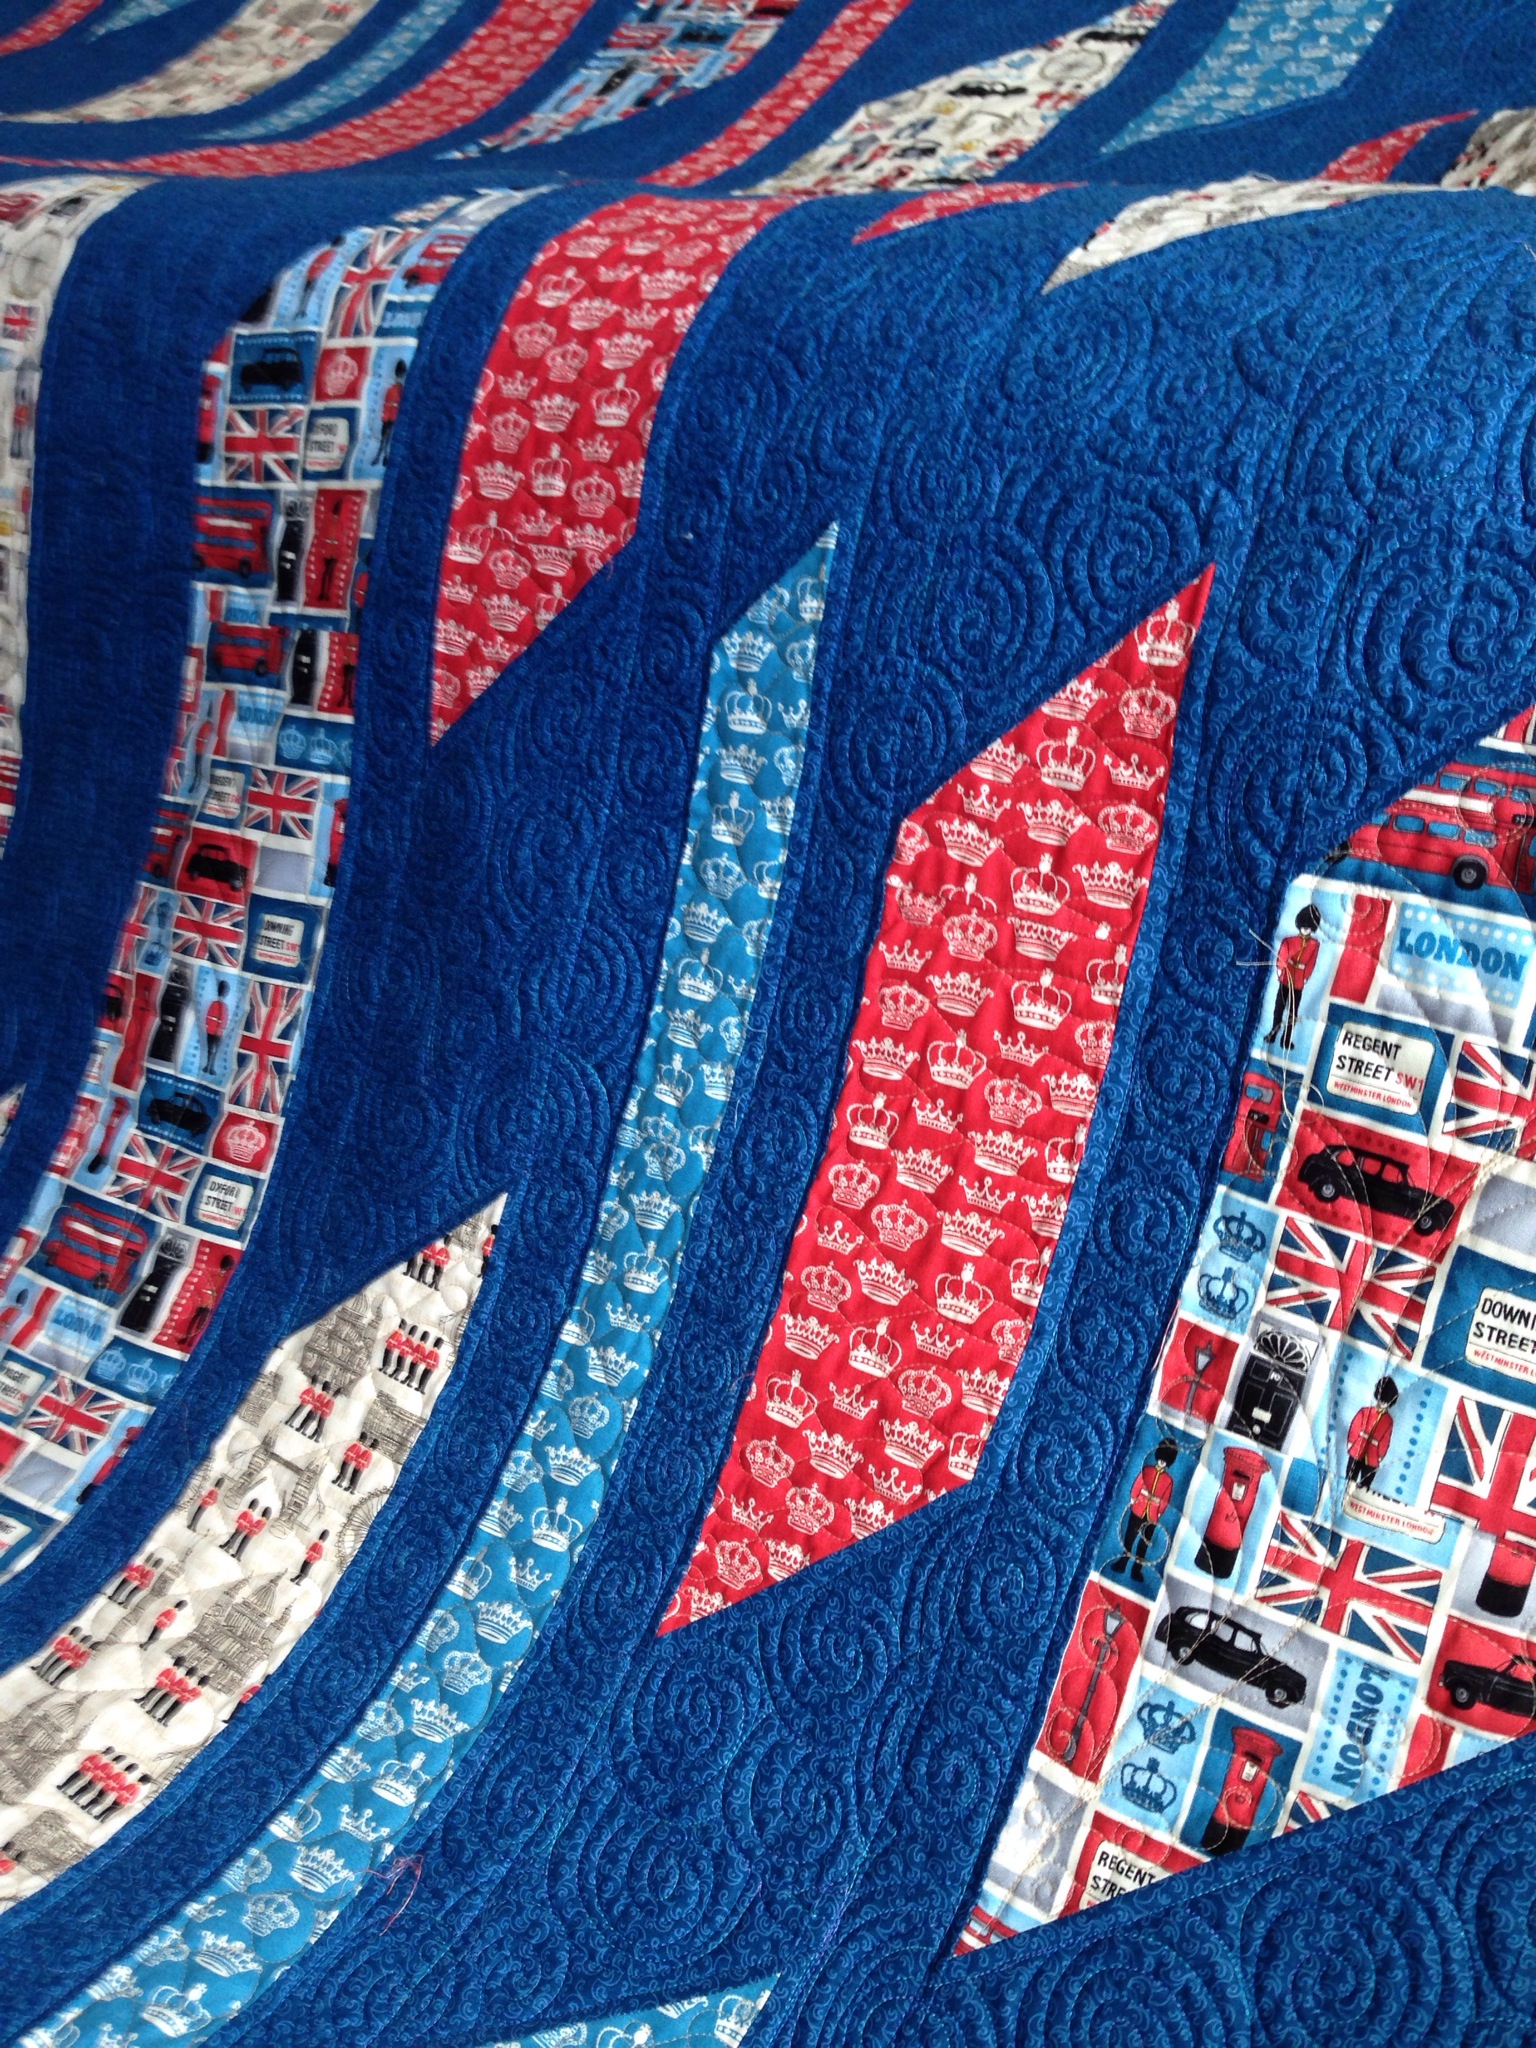
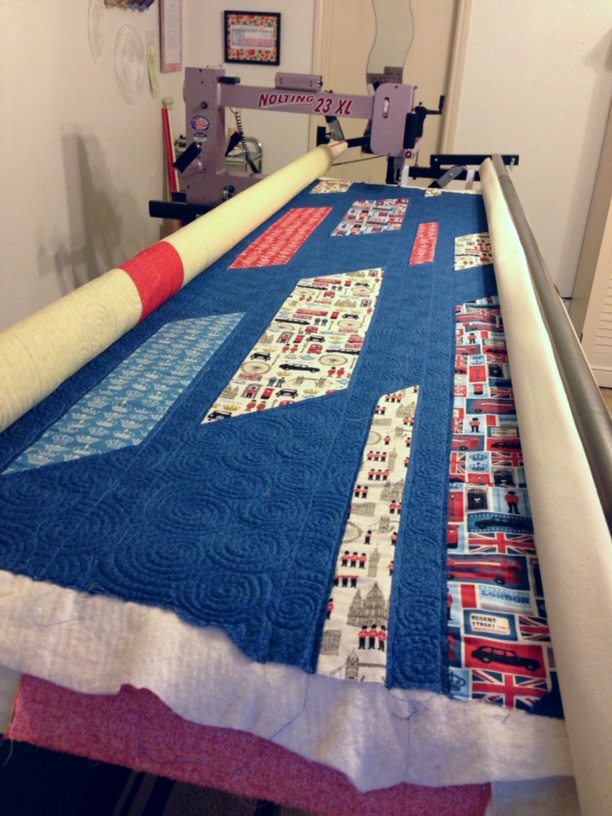
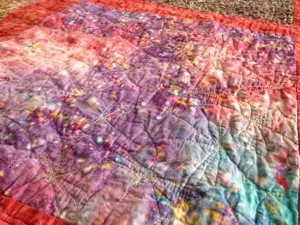
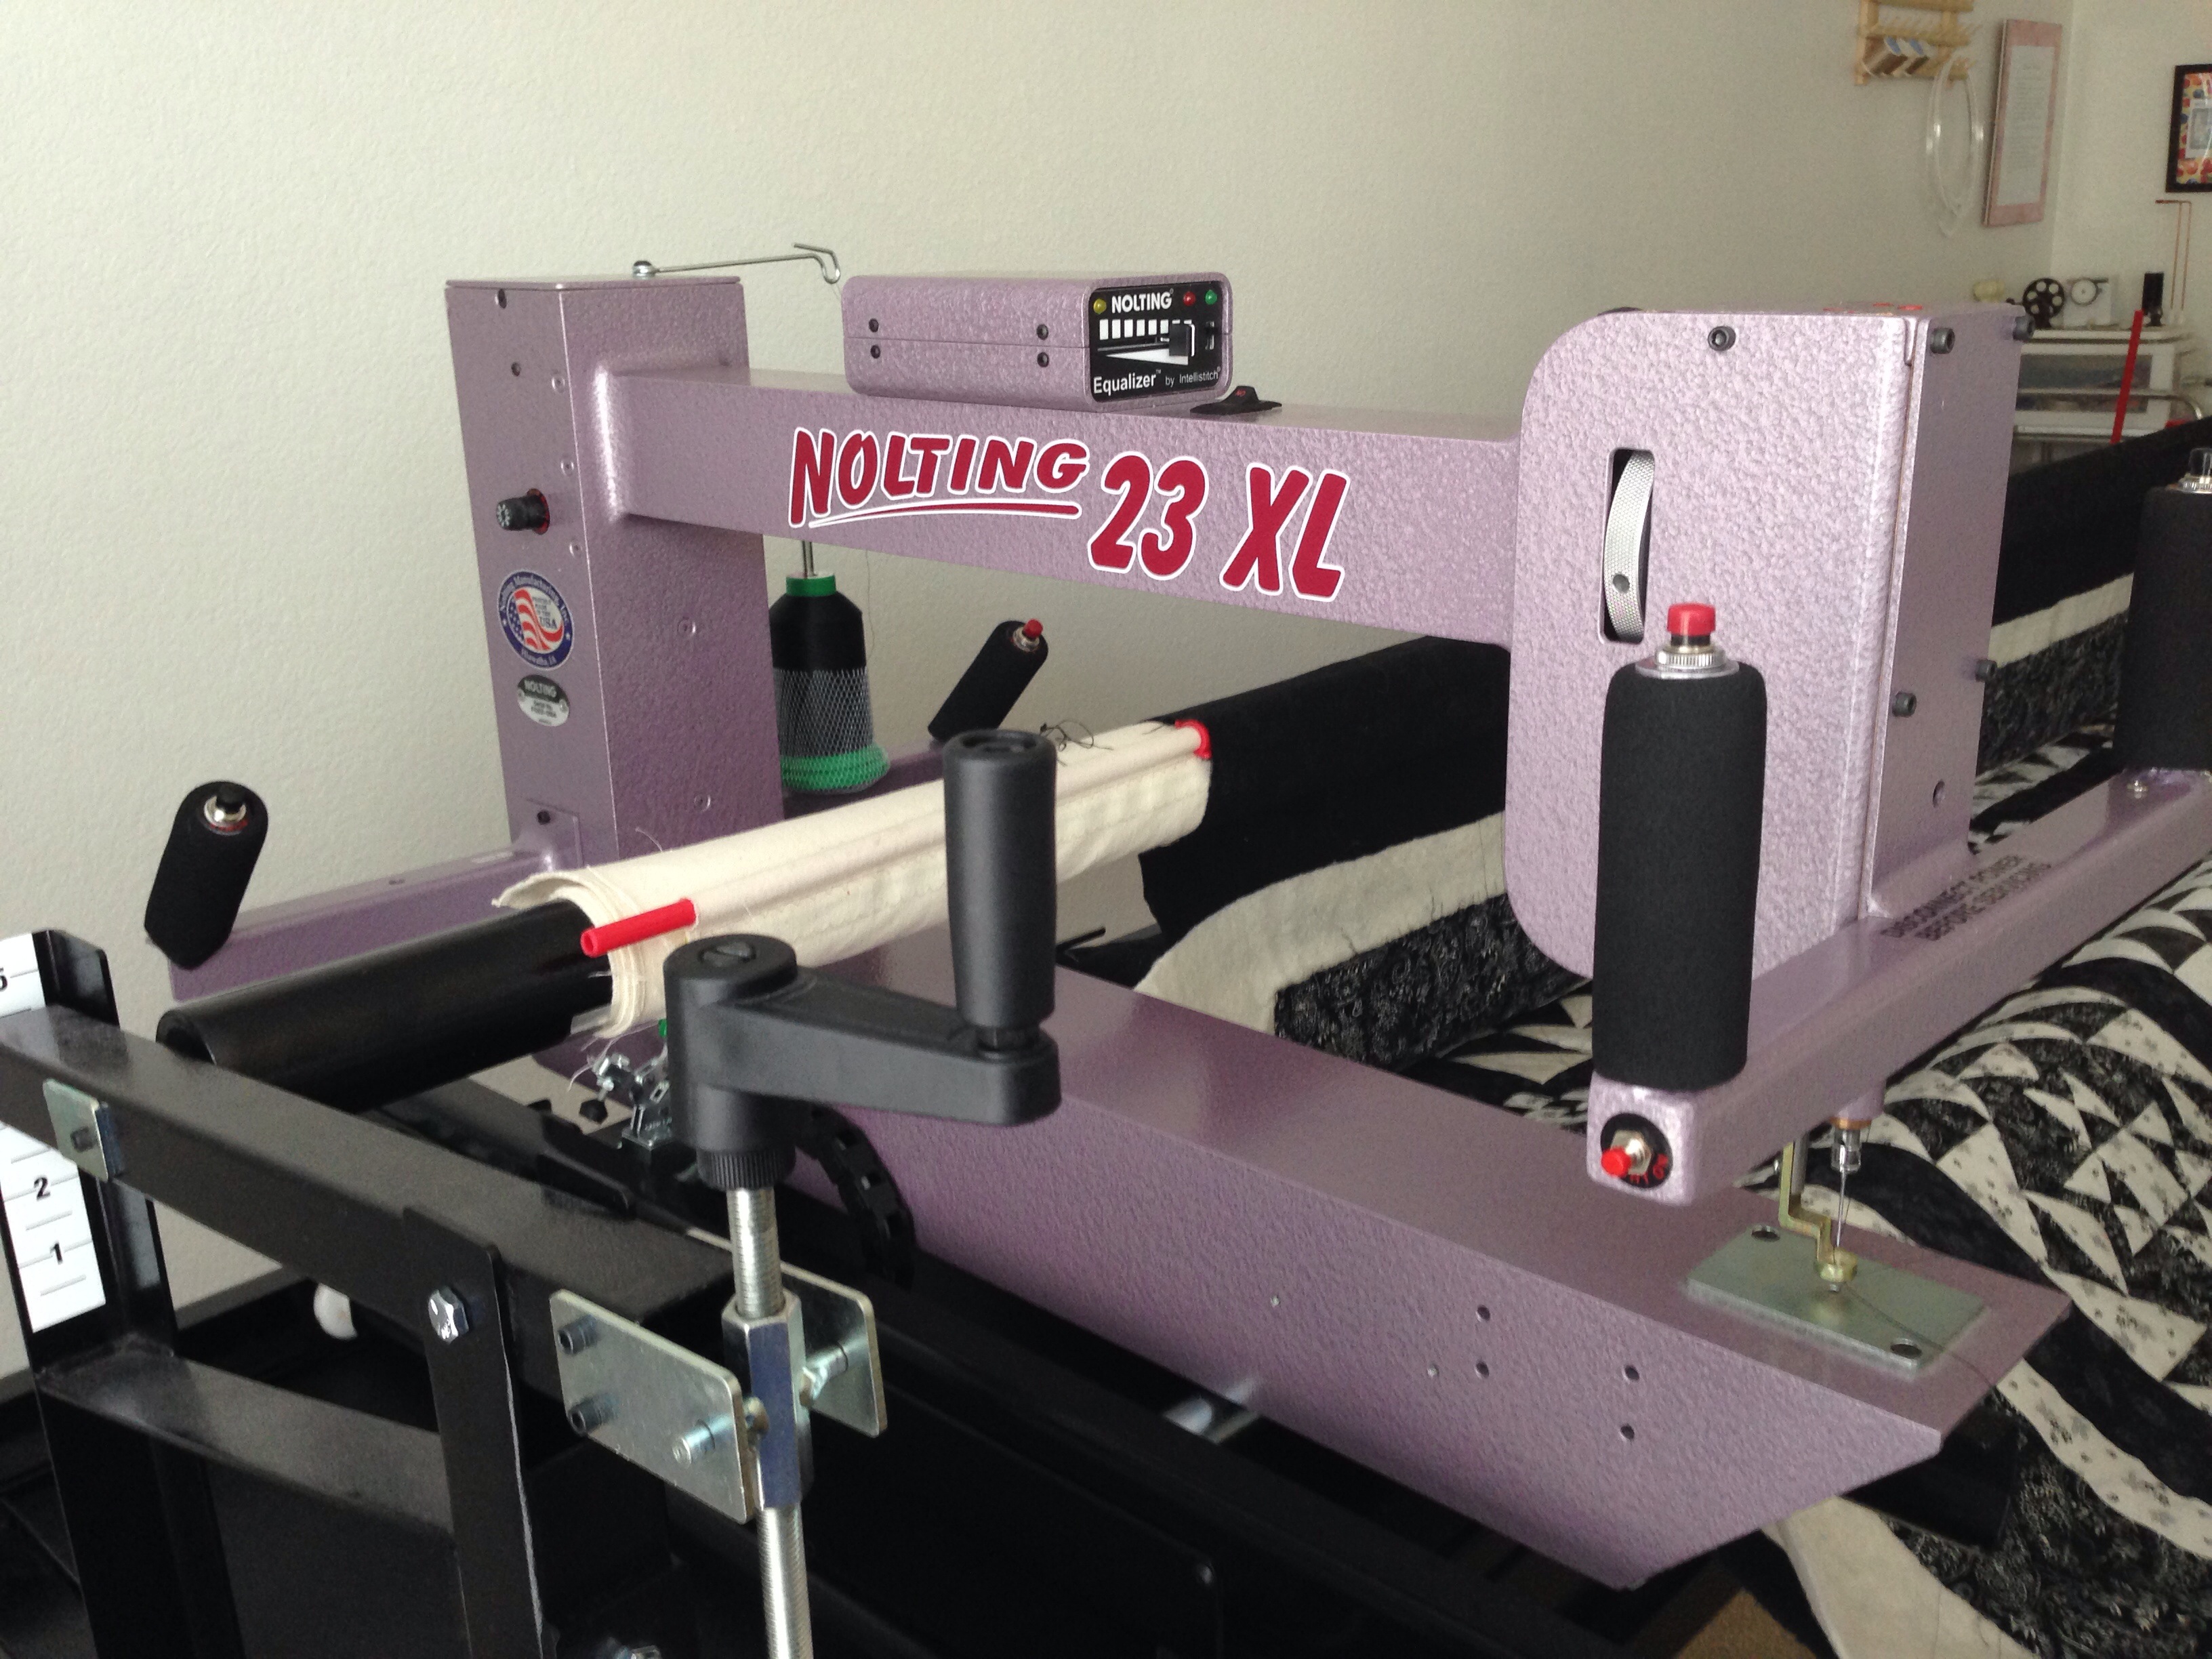
Almost ready to come off the frame…

I had planned to finish this quilt before writing this post, but I decided that I liked the quilt so much that I would give it the royal treatment (pun intended) on the frame. It is getting swirls in the background and ribbon candy in the chimes. How could I skimp on something this special?

And now, for our book giveaway:
Two lucky readers will be chosen at random to receive a brand new hard copy of Nancy Zieman’s new book: Quick Column Quilts! All you have to do is reply to this post before 12:01AM Wednesday, September 10, 2014, telling me about the fabrics you would use from your stash to make this awesome quilt for yourself. I will post the names of the winners on my blog at noon on that day.

So, let’s hear about your perfectly aged stash pieces that you want to see blowing in the wind!

Posted in Uncategorized | 74 Comments

“But what about the…” or 62 Dresses and a Handful of Hypocrites

(Photo from  “Know Your Value: The official Wonderfully Made Blog”
Please visit this link for a wonderful article about this organization.)

I recently saw a facebook post in which a lovely 62-year-old lady was celebrating her birthday by sitting on her sewing room floor, surrounded by the sixty-two dresses that she made for a charity called Little Dresses for Africa. While the responses to her post were overwhelmingly positive, there were, of course, the inevitable criticisms of “What about the boys?” and “What about the babies here?”

This rankles me for a variety of reasons.

  1. This woman was showing the fruits of her labor for a cause in which she believed. She obviously devoted a great deal of time and effort to her chosen cause. This kind of effort toward making the world a better place should not be criticized. Whether her charitable work matches anyone else’s personal belief system or priorities does not lessen the dedication she has devoted to it.
  2. The people who say, “But what about the…” are obviously doing nothing for the group they are supposedly advocating, or they would already know how to help, and they would be putting their efforts toward that group. A quick Google search would show that Little Dresses for Africa also makes shorts for boys. There are many local charities that offer new clothing to homeless children and foster children in the United States.
  3. “But what about the…” statements imply that by helping group X, that the person cares nothing for group Y. When I donate to the Humane Society, I hear criticism about caring more for animals than for humans, as if all humans need help before animals can be assisted. When people participate in Food Not Bombs by handing out free meals, they are accused of hating America and being anarchists. When this fine lady showed her work for girls in Africa, she was being indirectly accused of not caring about girls in the United States, boys in Africa, wounded American soldiers, and any other number of causes.

These are examples of black-or-white logical fallacy, in which there are only two possibilities: you can care about girls in Africa, or you can care about children in the United States. You can care about animals, or you can care about humans. You can help wounded soldiers, or you hate wounded soldiers.

What it comes down to, however, is that people who criticize others for doing good are usually tearing others down to make themselves feel better. I would bet a dollar that none of the people who began their reply to this woman’s post with “But what about the…” has made sixty-two of anything for their chosen cause. If they had, they would be too busy to criticize a very ambitious lady for her outstanding work in the service of others.

Posted in relationships | Tagged , , , , , | 21 Comments

(Stash)BUSTED! – A Keeper!

Today features my first Keeper book:

Material Obsession: Modern Quilts with Traditional Roots by Sarah Fielke
20140722-165143-60703724.jpg

I love books with pretty pictures. I think nearly all quilters are suckers for a pretty book, due to our visual nature. This one is incredibly appealing on that level.

The patterns featured range from the humble one-patch to appliqué, improvisation, and complex piecing. The instructions seem fairly easy to follow, although I would not give this book to a beginner as a how-to guide.

Here is the quilt that I made from the book, long ago, when I first strayed from art quilting into the world of bed quilts:

20140722-165545-60945622.jpg

20140722-165547-60947544.jpg

20140722-165546-60946265.jpg

20140722-165546-60946871.jpg

This is their version:

20140722-170823-61703733.jpg

The concept is simple: choose twelve fat quarters you love, square them up, add sashing, and quilt as desired. The quilt was an excuse to practice my developing free-motion and straight-line machine quilting skills. Each block features a different quilting pattern. Despite its simplicity, or maybe because of it, this remains one of my favorite quilts.

Do you have this book? If you do, I would love to see something you’ve made from it! Or, conversely, you can tell me why you think this one is not one of your Keepers.

Posted in Quilting | Tagged , , , , , , | Leave a comment

(Stash)BUSTED – Knowing what you have

I decided to start on my book- and stash-busting project by tidying up and getting a handle on what fabric I owned. This may take a while. I shall consider it an ongoing project.

This is what over 100 yards of fabric looks like: about two cubic feet. Think of that next time you look at your bins, people. It’s kind of crazy in there.

One hundred yards of fabric: about two cubic feet.

One hundred yards of fabric: about two cubic feet.

There are a few tools and techniques I’m using to fold my stash so that it fits in its cubbies. My cubbies are 13”x13”x15”deep. This method works best for pieces 2/3 yard and longer.

First, I lay the fabric out as it comes off the bolt.

folding1

Lay out on floor as it comes off the bolt, selvages together.

Next, I fold both edges to the center.

Fold edges to center.

Fold edges to center.

Then fold the fabric again, so it is now eight layers, and about 6” wide. All your selvages are hidden.

Step 3 - Fold outside edges together again. All selvages will be hidden in the middle.

Step 3 – Fold outside edges together again. All selvages will be hidden in the middle.

Finally, I wrap it around my 12” ruler (the long way) until it is in one nice, compact bundle. One of the pieces in the stash photo is eight yards long, so I know this works for large pieces.

folding4 folding5

I fold half-yard pieces around the 6” edge of my ruler, so they are only six inches deep.

This sounds like a lot of work, but we pay good money for our fabric! We should treat it with respect, as we would any other possession. Besides, isn’t it pretty?

Keeping track

How am I keeping track of this? I am using a wonderful iPhone app that happens to be free! It’s called Stash Star Fabric.

stashstarIt allows you to take a photo of each fabric, then add as much or as little information about it as you wish. It does not have a category named “Project,” but you can commandeer other categories for that, such as “Location.”

I am afraid that it does not total your fabric amounts, but we’re talking free app, here. Out of curiosity, I purchased a similar app, and it did not perform nearly as well. Sometimes free is better, even if you have to deal with the banner ads.

Posted in Quilting, sewing, StashBUSTED!, studio, tutorial | Tagged , , , , , , , , , , | 3 Comments

(Stash)BUSTED!

I’m back, after a long, long sabbatical from blogging, to start a new project.

As a quilter and an artist, I tend to collect (hoard) things. Most notably, I have an affinity for books.

My library. About three of these bookcases are stuffed with quilting books and magazines.

My library. About three of these bookcases are stuffed with quilting books and magazines.

My fabric stash is at StABLE (Stash Acquisition Beyond Life Expectancy) level, as well.

Art supplies to the right, stash to the left, and in the bins...

Art supplies to the right, stash to the left, and in the bins…

...and on the worktable. Please do not disturb Pauline. He is testing my fabric quality.

…and on the worktable. Please do not disturb Pauline. He is testing my fabric quality.

While quilting is my passion, it is also my occupation. I have a wonderful 23” Nolting Longarm quilting machine, which keeps me busy and gainfully employed,

This is my baby, custom made for me in the USA. I even chose the color. No pets allowed in this room!

This is my baby, custom made for me in the USA. I even chose the color.
No pets allowed in this room!

as well as a part time job at a machine dealership. This part-time employment has allowed me to acquire even more stash and books than before.

So What?

Well, in order to prevent a Hoarders intervention, I have decided that I must make at least one quilt from, or inspired by, each book and pattern I have. If there is nothing in the quilt book that is helpful or inspirational to me, it is going on the FREE table at one of the guilds.

What you will witness, Readers, is my progress (or lack thereof) through this project.

To start, I shall state the rules:

  1. All books must start in the library. This part has been accomplished, I believe.
  2. Any book can be saved by either virtue of technique or by pattern use. Since I have never completed a pattern as written, this will have to be a loose interpretation.
  3. Each quilt must use *something* from my stash, even if it is batting or the fabric for the quilt label. Hopefully, it will be much more than that in most cases.
  4. Completed means Completed. Bound, labeled, and ready for action.
  5. There will be off-topic posts. Love them, or skip them.
  6. I made the rules, and I can break them. I am Supreme Ruler of my own blog posts. MUAHAHAHA!!!

Join me, if you wish, and share your progress! There will soon be a facebook page and flickr group dedicated to the project. Considering where I am starting, I will never run out of blogging material again!

Posted in Quilting, sewing, Uncategorized | Tagged , , , , , , , , , , | 7 Comments

“Round & Round” WSGAS Print Exchange: Taijitu du Manège, State

1stStateYinYangWeb

This is the First State of my woodcut from my previous post.  It’s printed on Masa with Akua Intaglio ink.  I’m used to traditional ink that I make myself using dry pigment and plate oil.  The viscosity of the Akua is not as stiff as I’m used to working with and I’m struggling to get a print that doesn’t have a translucent, spreading halo of oiliness around each line.  To remedy this I’m going to try adding some dry pigment to the Akua as well as using a lot less ink rolled on the block.  When I searched the internet for tips from artists using this method of printing–rolling up the image as opposed to brushing it on–I wasn’t able to find anyone doing this.  Crazy-making but the Akua inks are supposed to be a lot friendlier for the environment and for artists’ health so I’m going to keep trying.

Posted in Animals, Art, creativity, Eco-friendly Printmaking, Horses, Printmaking, Relief Print, technique, Uncategorized, Woodcut, Work in Progress | Tagged , , , , , , | Leave a comment

“Round and Round”: WSGAS Print Exchange, Work in Progress

YinYangHorseInProgress

Yay!  I’m working (not-so-gainfully) as an artist again.  Art every day!…

This woodcut-in-progress is for the West Shore Graphic Art Society’s invitational  print exchange.  WSGAS commissions a printmaker to create and edition a print every year.  I was commissioned in 2002.  This year they are doing a print exchange and have invited all past printmakers to participate.  Twelve printmakers have agreed to participate.  The theme for the exchange is “Round and Round.”  I’ll get eleven lovely prints in exchange for my work and one of my prints will be put into the WSGAS print collection.

Posted in Animals, Art, creativity, Eco-friendly Printmaking, Horses, Printmaking, Relief Print, technique, Uncategorized, Woodcut, Work in Progress | Tagged , , , , , , , , , , | Leave a comment

The French-Canadian Fur-Trapper Wizard Coat

First-CoatWeb3 This is my first attempt at creating a coat out of felted, reconstructed wool sweaters.  It was also one of my first serger creations.  Who but me would go from scarves directly to the challenge of a giant, sweater coat?  It turned out pretty well.  I nicked a spot in the hood with the serger knife and learned a lot about cutting open seam mistakes and a lot about the minutia of serger settings.  This was my self-inflicted crash-course in serging.  Lisa is also a huge help.  She gets an almost-daily sewing question from me.  I’ve been wearing it everywhere–even Nordic skiing and snowshoeing–and my seams show no evidence of wear.  The best compliment I’ve gotten so far was from the proprietor at our local yarn shop, “You’ve done a very professional job and I know.  I’m a seamstress and fiber person.”  Yay!

I was inspired primarily by Katwise’s creations.  As a dancer, I’d taught myself years ago how to make gored skirts and dresses for dancing so I had a pretty good idea how to construct the coat but had some questions.  I purchased Katwise’s “Upcycled Sweater Tutorial” hoping that it would help with details.  The tutorial is creatively put together, but if you already have some experience with felted fibers and serging, it probably isn’t going to answer the detailed questions that you have.  Images of her creations were probably the most helpful hints.   Her tutorial wasn’t that expensive though so I’d say it was worth it.

I’ve made two coats since this one and sort of have a method down now.  One of my primary challenges is finding enough sweaters that go together to complete a coat.  Finding wool sweaters of substance has been a real challenge.  By the time I get to the finishing touches, I’m scrounging for scraps.  For instance, I’m not that happy about the color or the material the belt is made of but, alas, it was my only choice.  The fringe along the bottom also came about because all I had left were scraps and the skirt of the coat needed to be longer.

The way the materials dictate the design is also one of the things I like about the construction method.  I hadn’t intended to create a garment that somewhat replicated the Native American capote (or Mackinac) worn in Canada and the Northern US but the materials combined with my cultural background produced a happy surprise.

This is my basic method for constructing the bodice.  I’ll continue to give tips in subsequent posts.  Find a felted sweater that fits the torso of the person who will be wearing the garment.  This becomes the bodice.  Now find about seven other sweaters that will go with this sweater.  Set these aside for now.  Cut the sleeves of the bodice sweater off about two inches above the elbows (The sleeve remnants will eventually get used in the lower part of the sleeves, hood and pockets.).  Cut the bottom of the sweater off just above the natural waist (This will most likely get used in the hood.).  Cut the neck binding off (These are hard to find uses for.).  Cut the bodice up the center front.

Now to fit the bodice, I put the it on my dress form or the person who will be wearing the coat.  The dress form is easier since you can stick pins in it without it squealing in pain.  I find I often have to add a gusset in the armpit area of the bodice to make the shoulder area and sleeve opening large enough.  I want to make practical coats that have enough ease to accommodate another sweater underneath.

Now, for the closure.  I find that closure design is one of my biggest quandries.  I haven’t yet thought of an efficient way to do this that doesn’t involve purchasing un-recycled materials.  But…hopefully one or two of those sweaters you set aside has a button placket with big buttons or a well-functioning zipper that will be long enough to close the coat from your throat to about halfway between your knees and your crotch.  People seem to want zippers but I, personally, think the buttons are more fail-proof.  You just have to be more patient and so do all your friends who wear conventional clothing as they wait for you to get your fabulous coat on.  Seriously, it takes less than a minute.  Just be patient…all of you.  Now, you’ll want to cut the chosen closure out of the sweater and pin it to the bodice in such a way that it conforms to the shape of the body.  Now it’s time for the waistband.

Posted in Clothing, Crafts, creativity, Green Living, Recycled fabric, sewing, technique, Uncategorized, Work in Progress | Tagged , , , , , , , , , , , , , | Leave a comment