

Whether you want to display a collection of vintage jewelry or you just hate to hide your favorite pieces while you’re not wearing them, this jewelry frame may be your answer! Made from an old picture frame and a few other supplies, it’s a project that will have you sorting through your treasures to choose just the right pieces to liven your walls.
Supplies:
Open-backed picture frame
Fabric
Two layers of batting, or an old towel (padding)
Foam core board or corrugated cardboard (backing)
Painter’s tape
Hot glue gun
- Find an open-backed picture frame. This one was of the highest quality, purchased at great expense… Nah, I’m just messing with you. I bought this one for a dollar at an estate sale. You can use one meant to hold photos if it has a hefty ridge where the back and the glass would go.

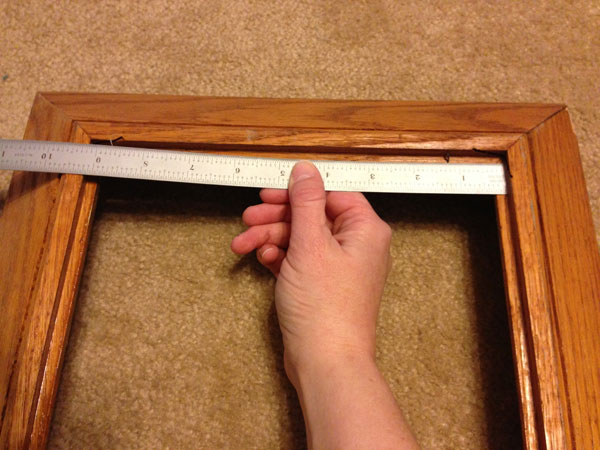
- Measure the back of the frame to determine what size your backing should be. If you are using a photo frame, you can measure the glass that you will be discarding.

- Cut your backing 1/8″ smaller than the size you measured.
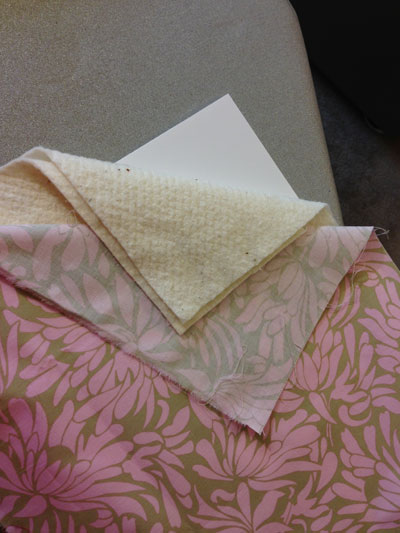
- Cut your padding and fabric at least two inches larger than your backing.
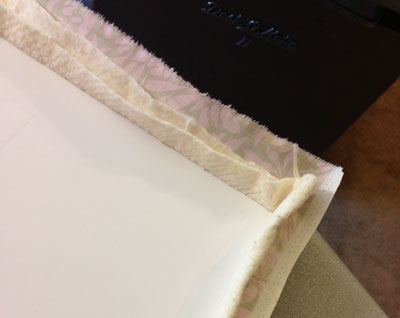
A note on choosing fabric – avoid high-contrast prints; these can camouflage your jewelry instead of showcasing it. Also avoid directional prints, or anything that may be difficult to align inside the frame. Audition any possible fabric by laying your jewelry on top of it, then taking a photo of it. You will be able to see in the photo whether the jewelry will stand out, or whether it will blend in. - Place your fabric face down on the table, then layer your padding and your backing on top. Wrap the padding and fabric around to the back of the board, tacking it in place with painter’s tape. (This photo shows the exact opposite of what you should do.)

- Press your assembly into the frame. It should be snug. Remove the painter’s tape.
- Gently tug at the batting from the back to remove any wrinkles or lumps from the front of your assembly. Once it is smooth, do the same with your fabric until you are satisfied with the way your frame looks.
- Trim the batting close to the board edge, being careful not to cut your fabric.

- Hot glue the fabric edges onto your backing.


Congratulations! You’re finished!
When attaching brooches to your frame, try not to stick them into the backing board. Brooches (especially vintage ones) can be fragile, and this can sometimes be too much for them.
Stick a sewing pin into the board from which to hang necklaces, if you wish.
Enjoy!

 Everything About Wool Felting
Nice tutorial, Lisa, and a cute way to de-clutter your jewelry box.